How do you charge the chevrolet blazer ev at home?
How to Charge the Chevrolet Blazer EV at Home
Depending on your daily driving needs and the electrical capacity of your home, charging your Chevrolet Blazer EV at home is a simple and convenient process that can be accomplished mainly with a professionally installed Level 2 home charging station or the included dual-voltage charging cord. This guide will cover all the necessary steps from setup to completion, ensuring you can power up your vehicle safely and effectively.
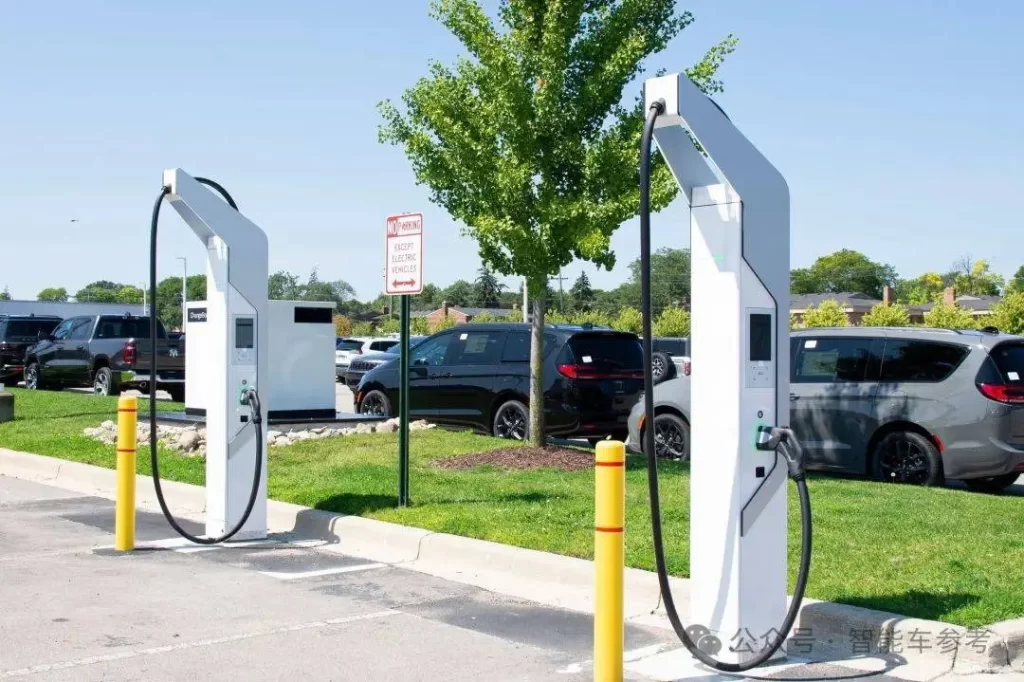
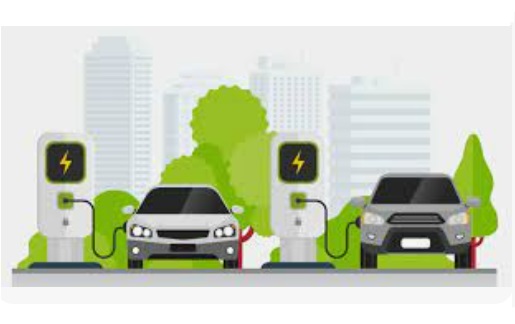
Understanding Your Home Charging Options
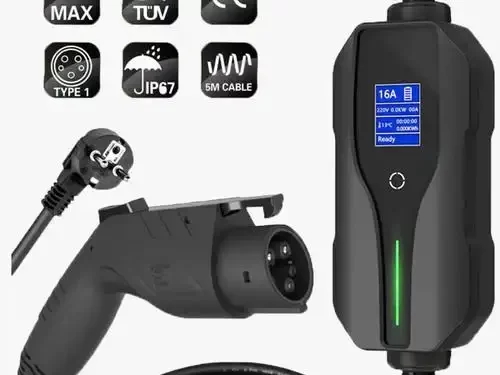
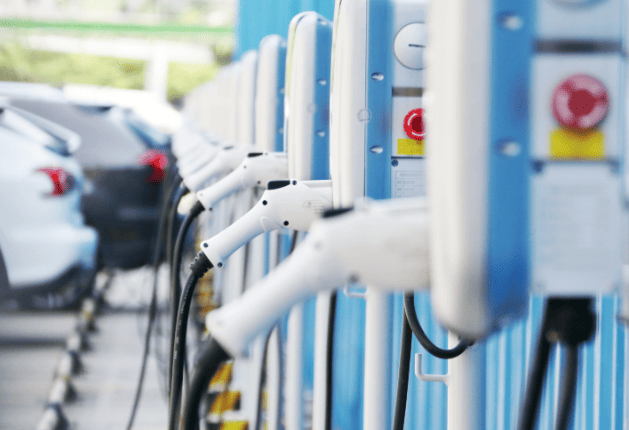
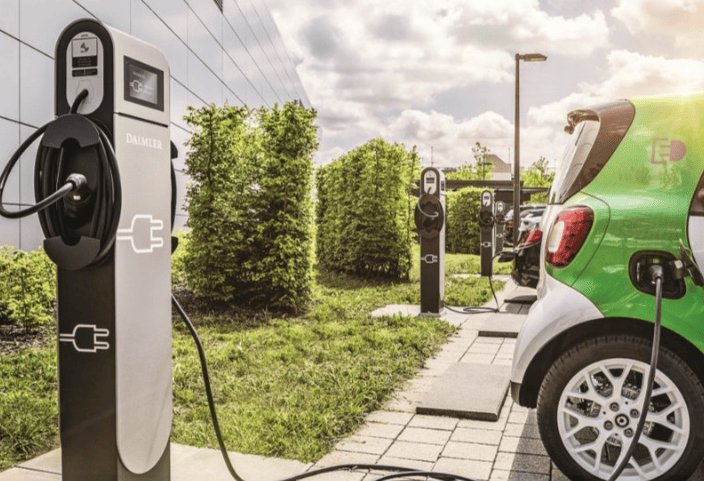
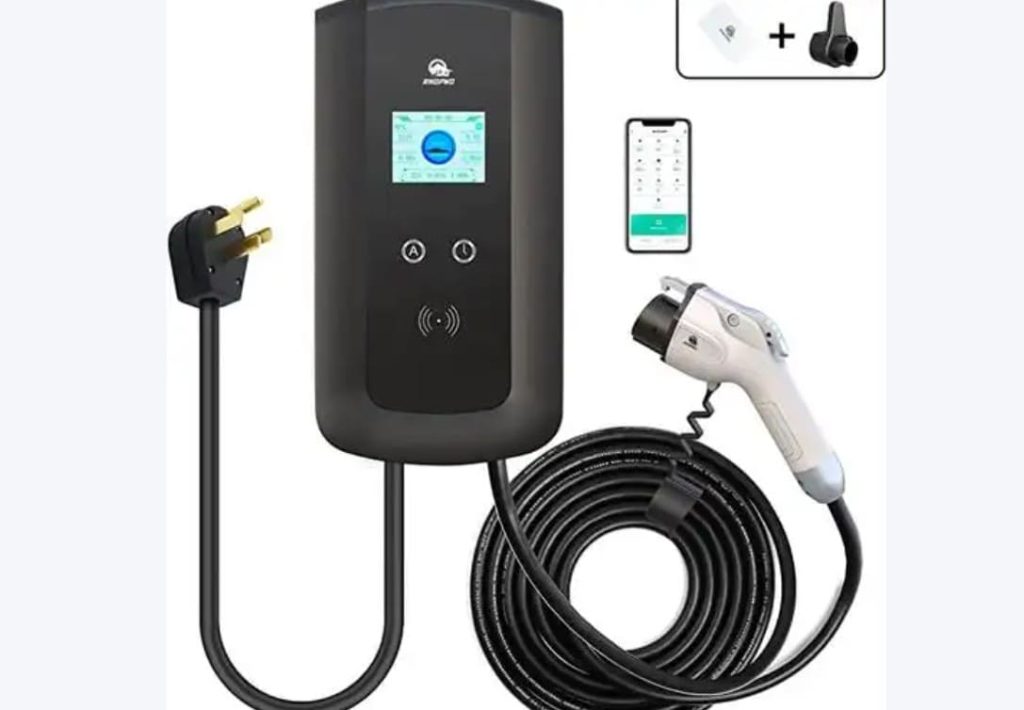
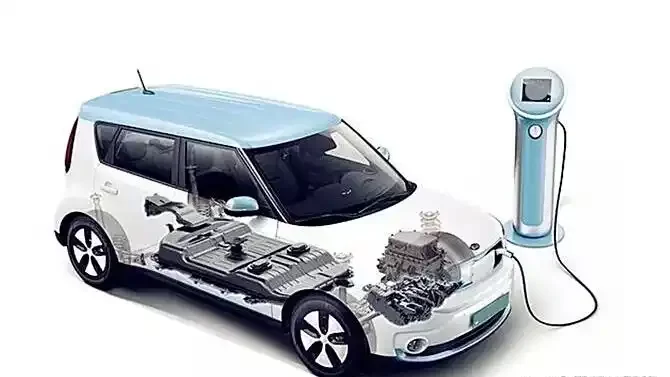
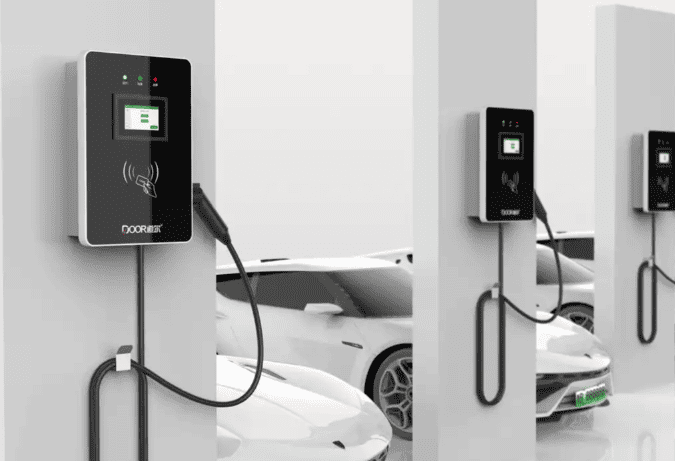
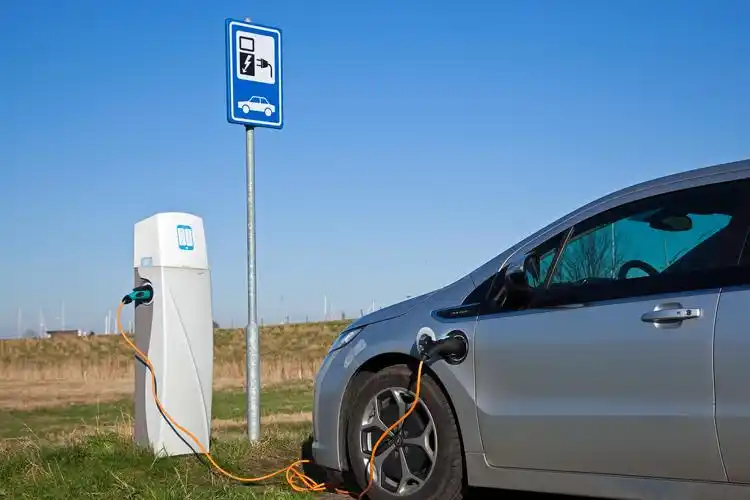
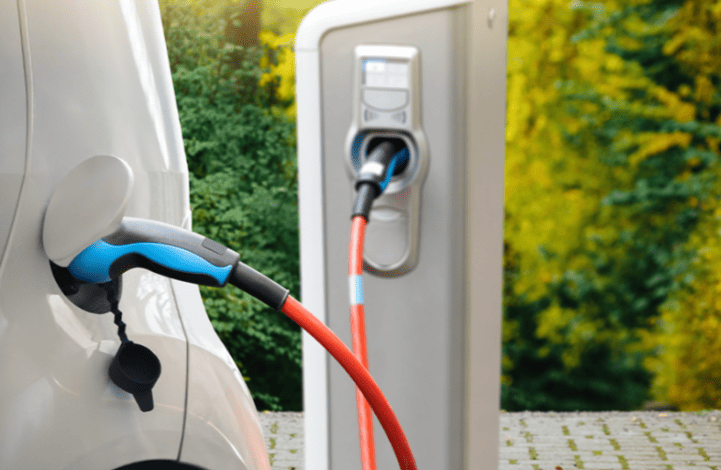
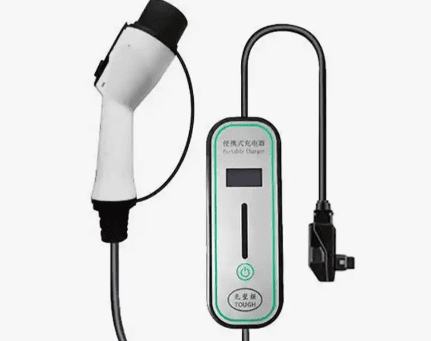
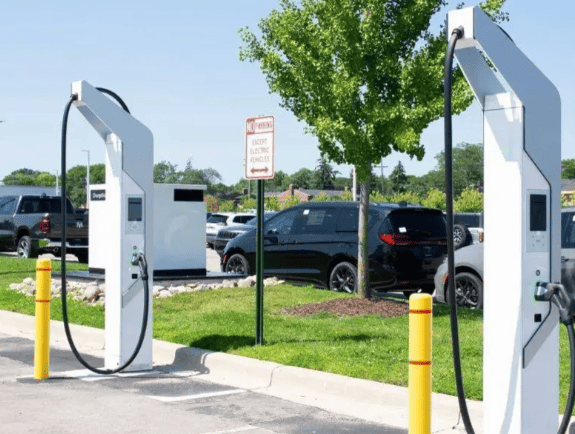
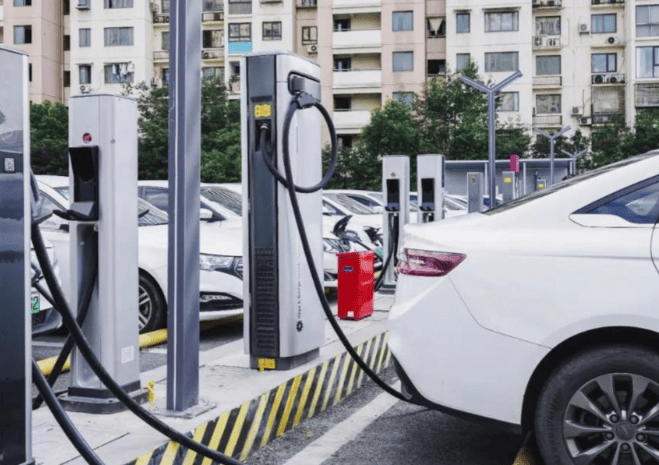
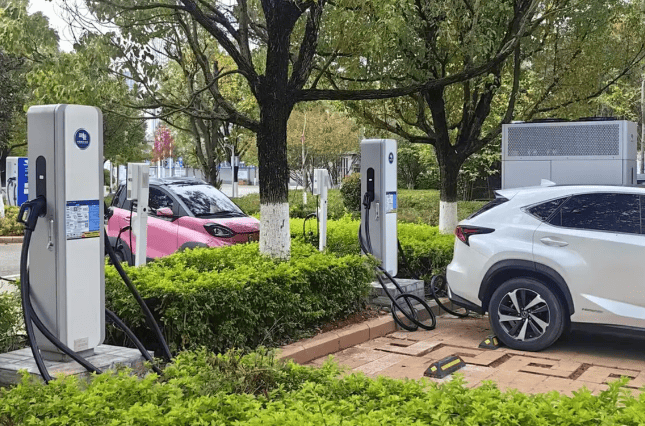
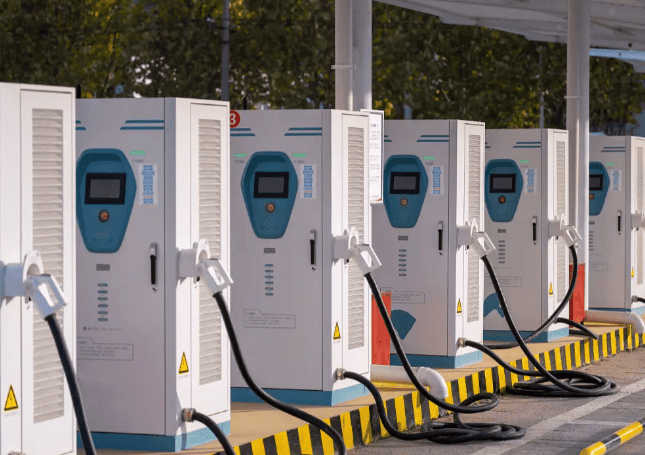
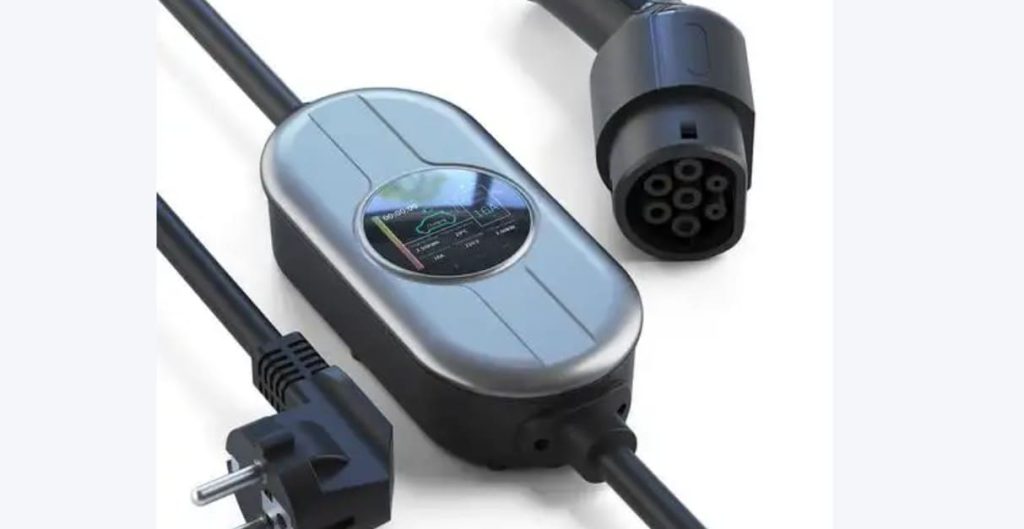
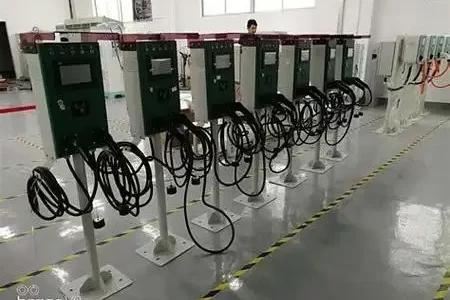
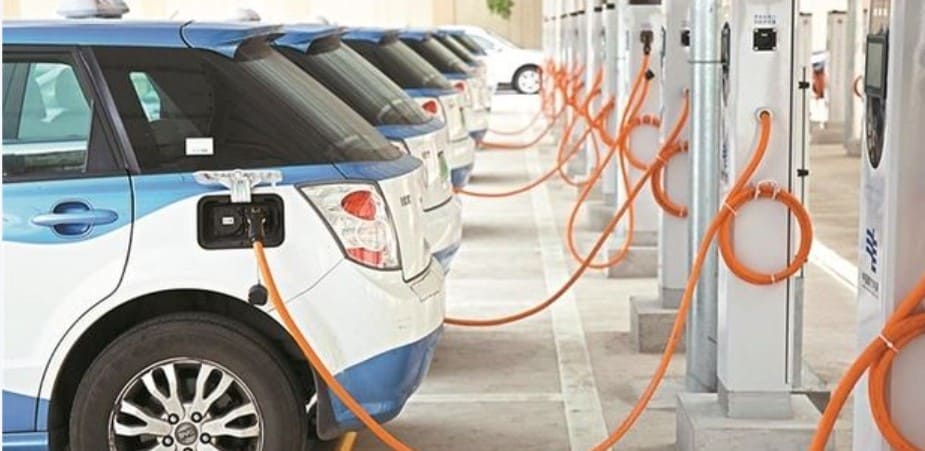
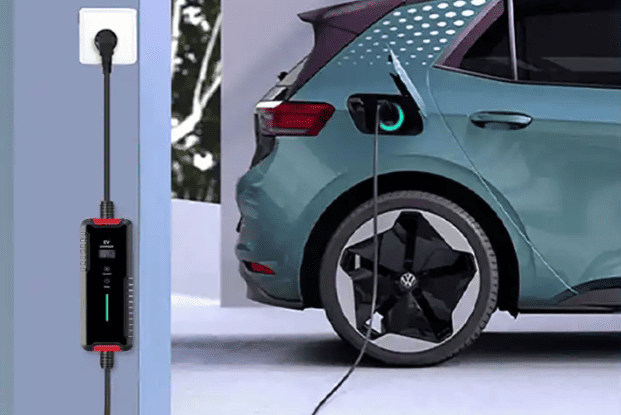
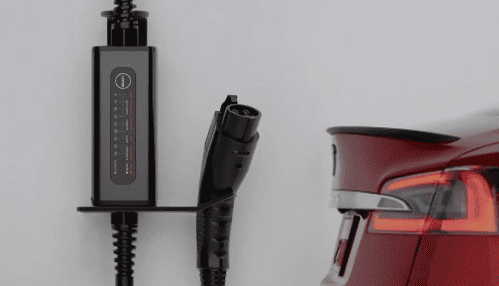
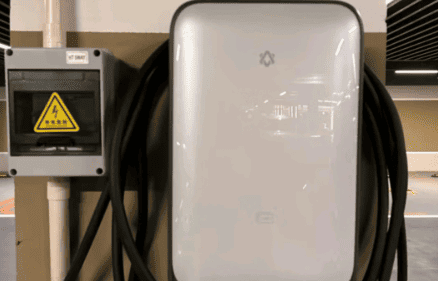
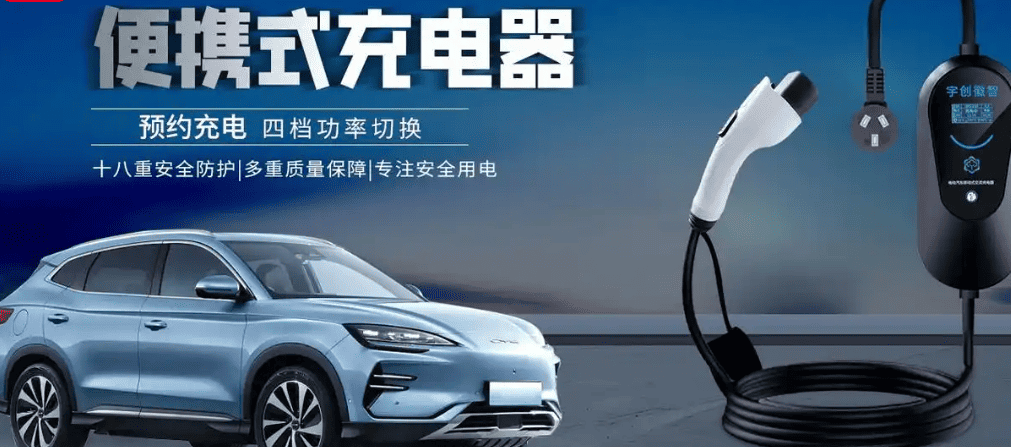
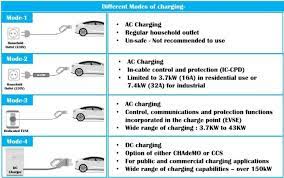
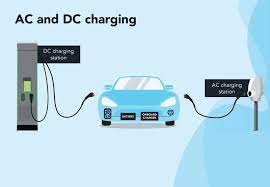
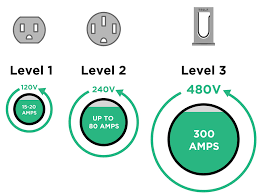
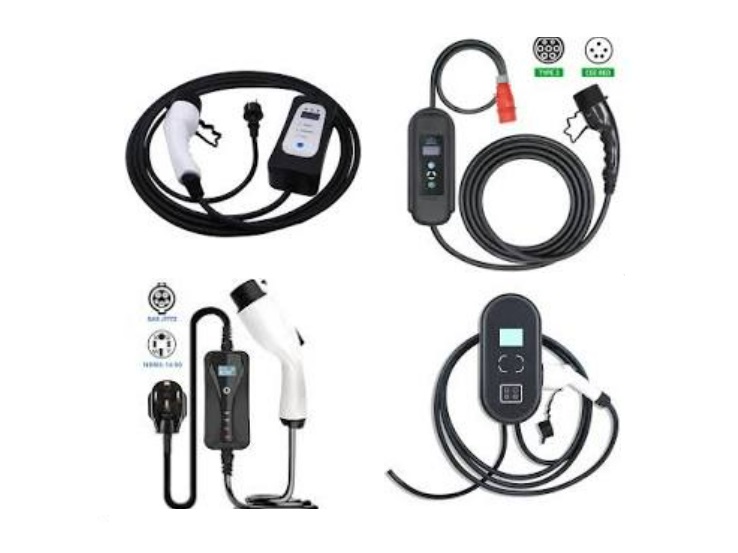
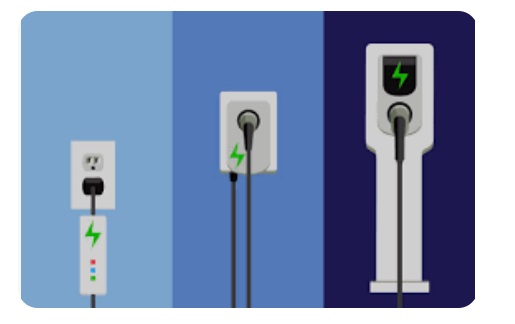
Understanding the two main methods for charging at home is the first step. The Chevrolet Blazer EV comes with a portable charging cord that has two different functions: Level 1 charging, which is the easiest to start because it doesn’t require any additional installation, is a little slow (usually adding 3 to 4 miles of range per hour), and is best suited for overnight charging or drivers with shorter daily commutes. Level 2 charging is more powerful and useful for regular use and requires a 240-volt outlet, like those used for large home appliances like electric dryers or ovens. A Level 2 charger can add between 25 to 37 miles of range per hour, drastically reducing charging time. You can use your vehicle’s portable charger with a compatible 240-volt outlet, or you can opt for a dedicated, permanently mounted Level 2 charger unit, which often offers faster charging speeds and smarter features.
Preparing for Your First Home Charge
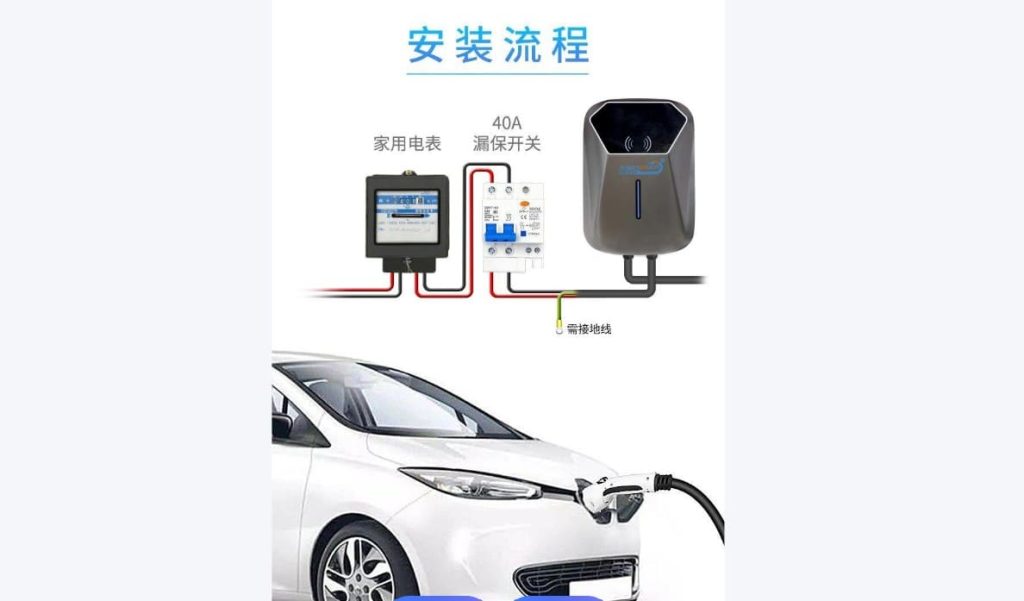
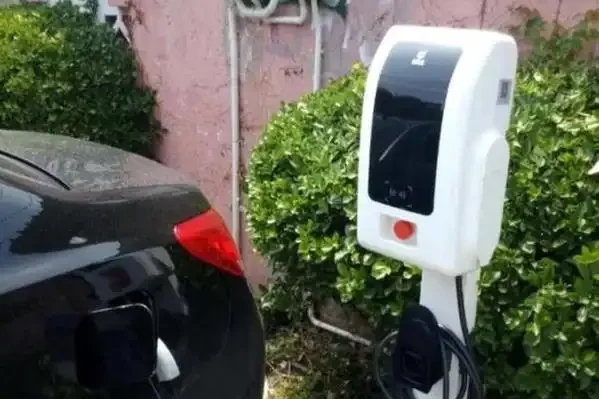
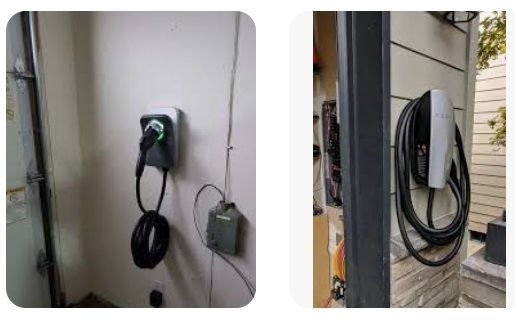
Before you plug in, some preparation is essential. First, decide on your charging method. If you plan to use Level 2 charging, you will likely need to hire a qualified electrician to install a new 240-volt outlet or hardwire a dedicated charging unit to your home’s electrical panel. They will ensure your system, specifically the circuit breaker, can handle the required amperage (typically 40-50 amps for a dedicated charger). Next, always inspect your equipment. Uncoil the entire portable charging cable and look for any signs of damage, such as cuts, fraying, or exposed wires. Check both the plug and the connector charger handle to ensure the ports are clean, dry, and free of any debris. Safety should always be your top priority before initiating any charging session.
The Step-by-Step Charging Process
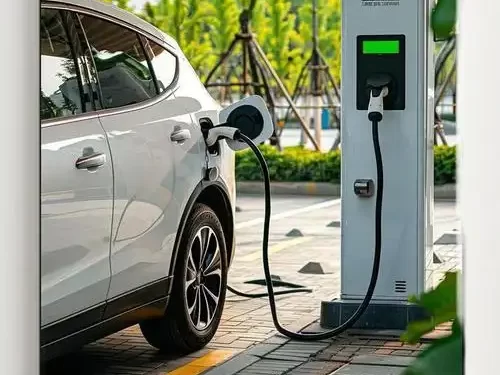
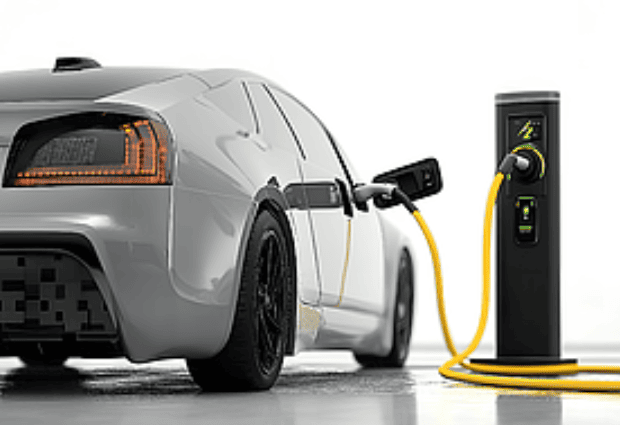
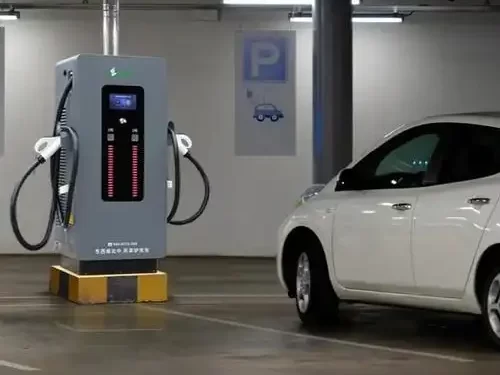
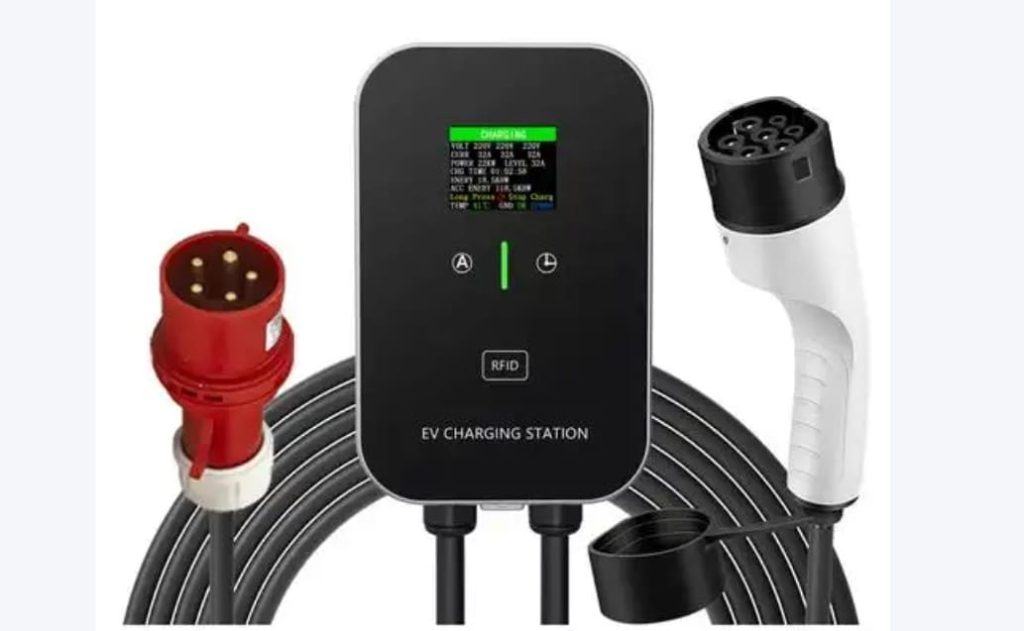
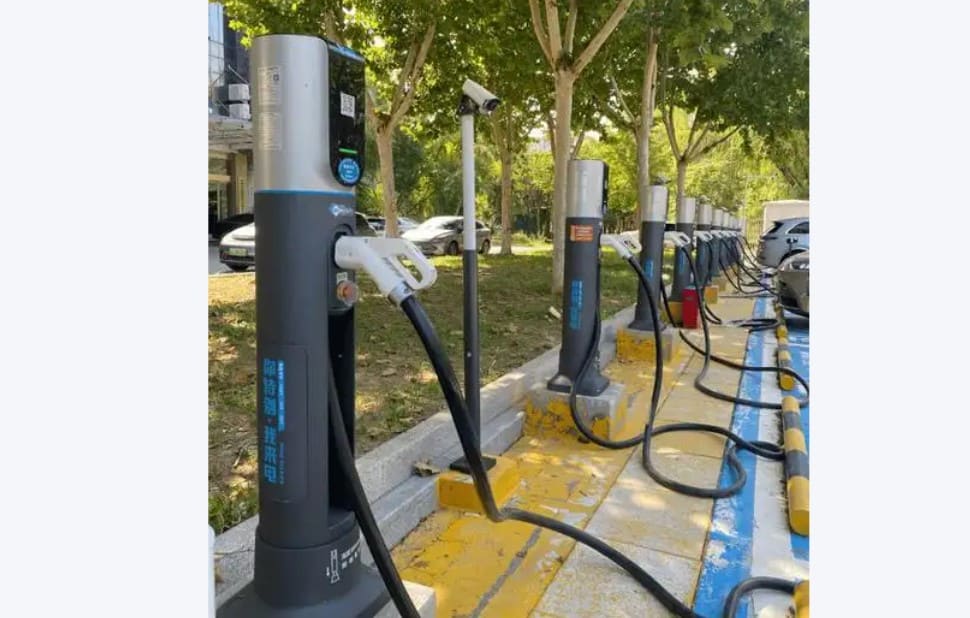
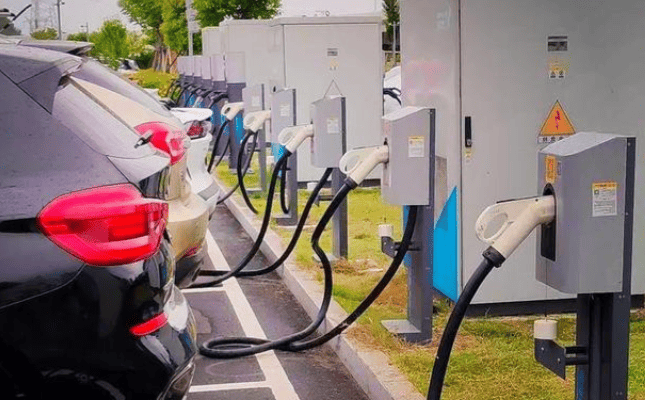
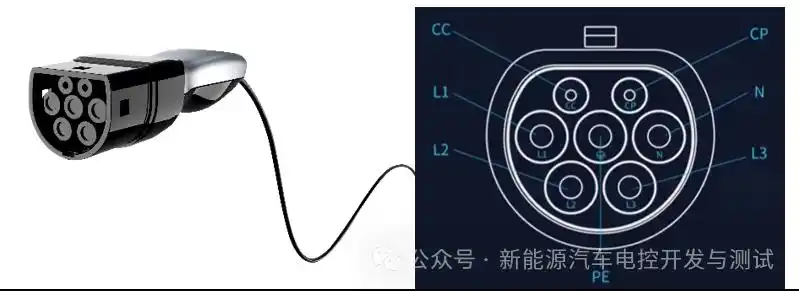
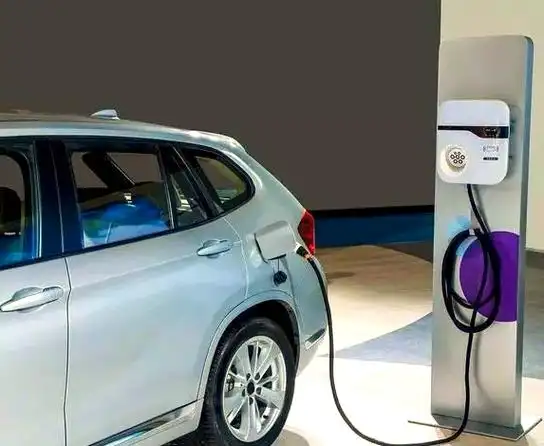
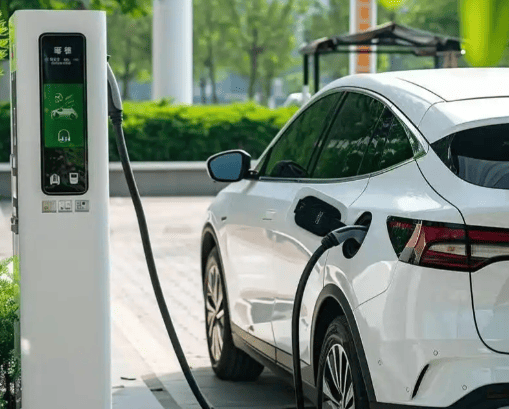
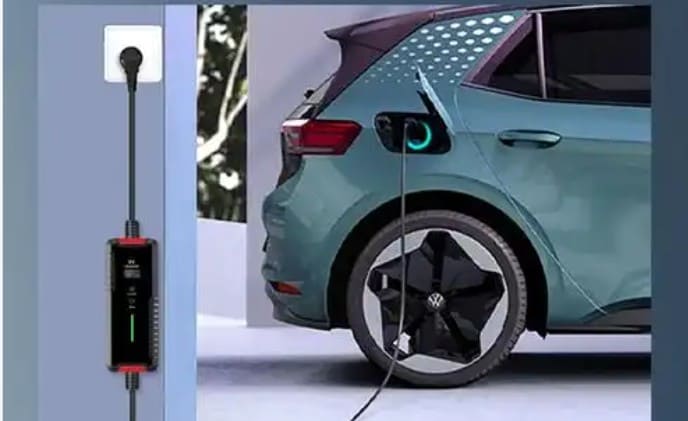
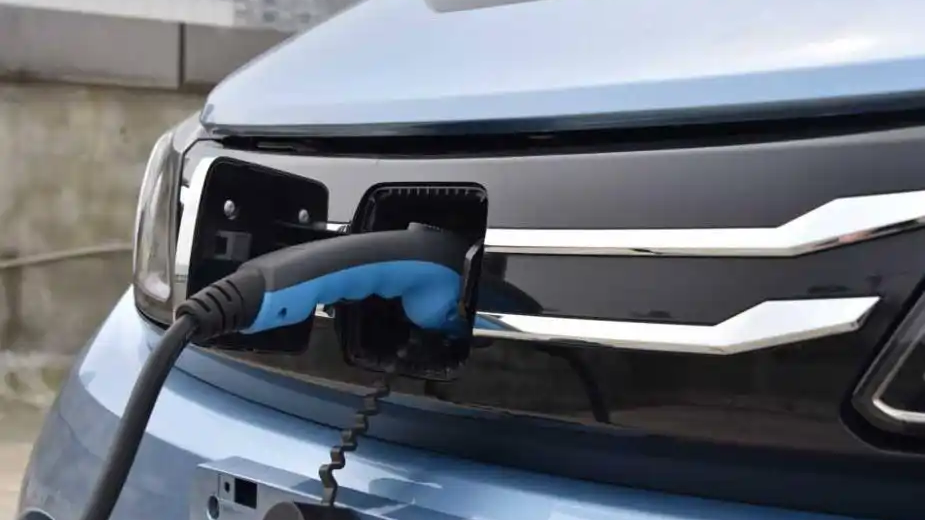
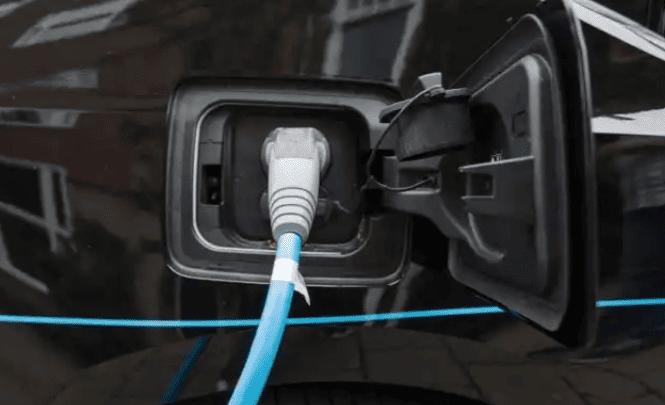
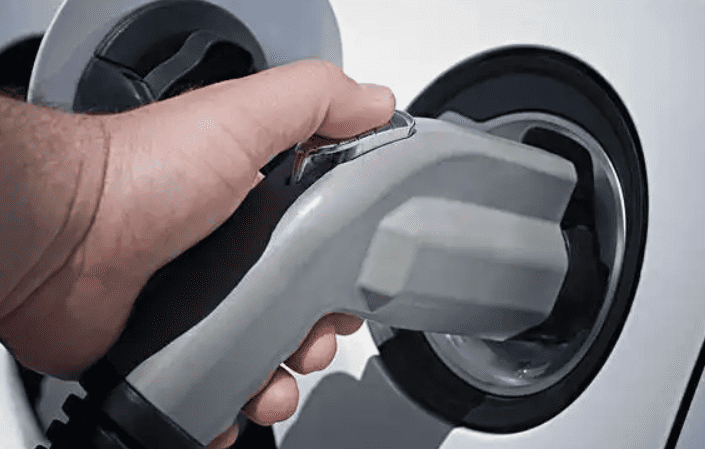
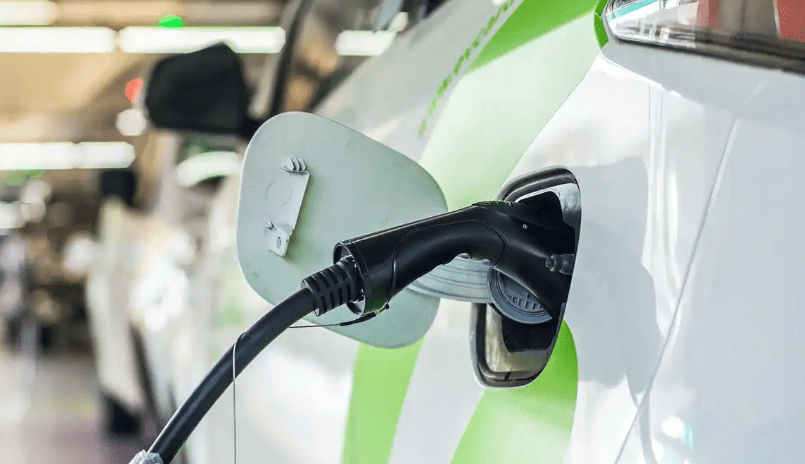
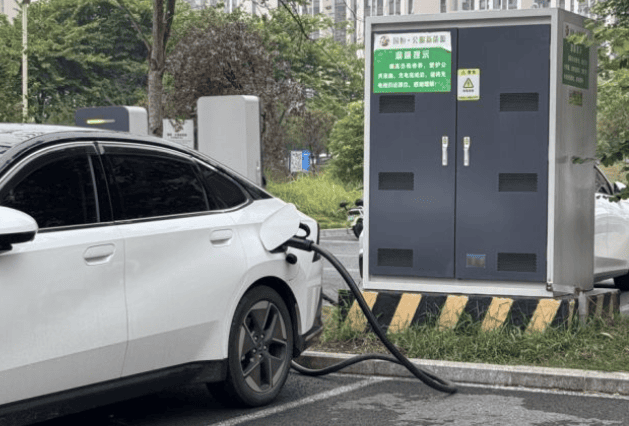
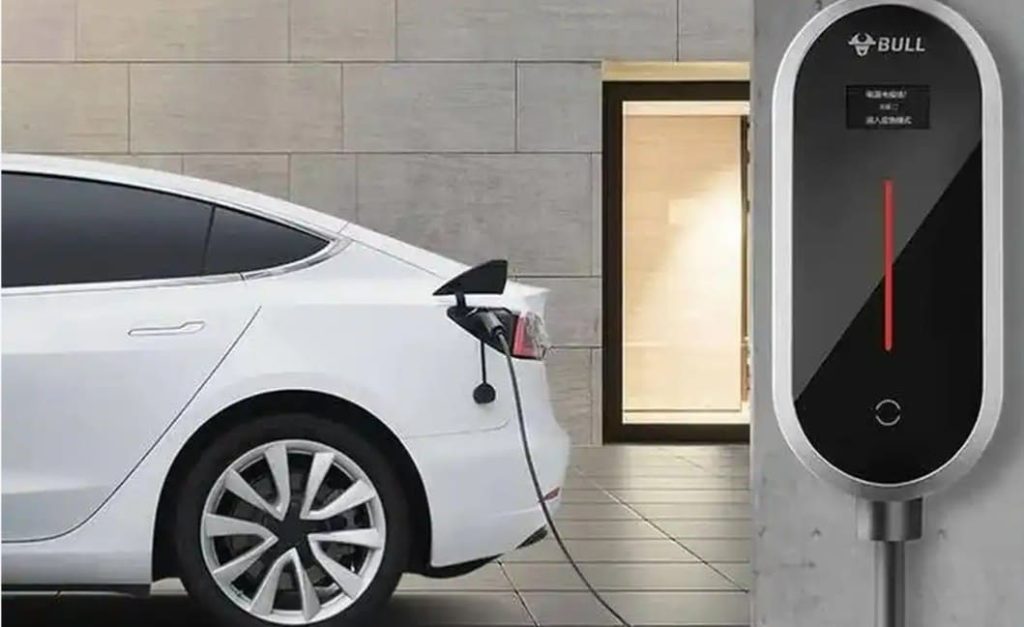
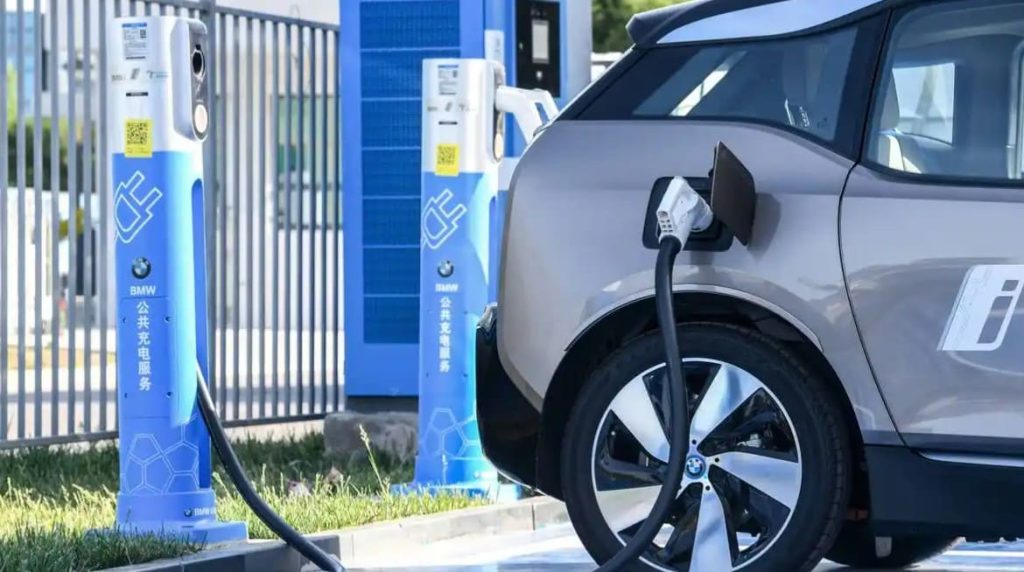
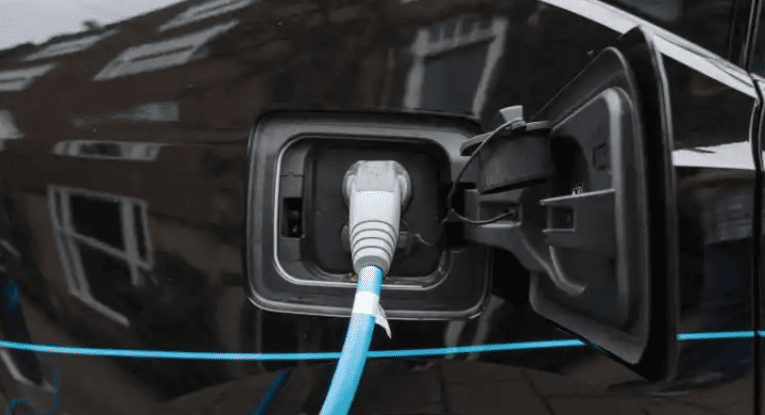
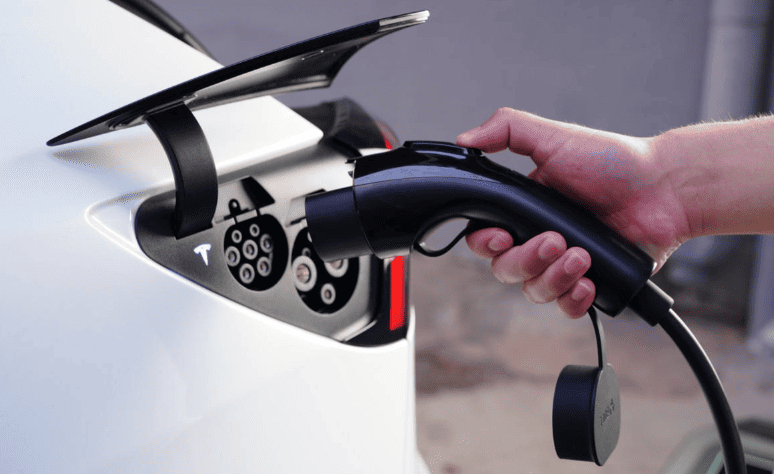
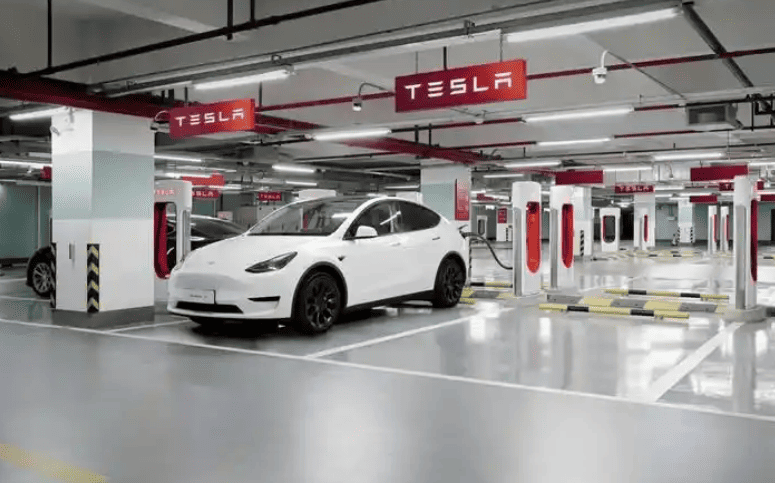
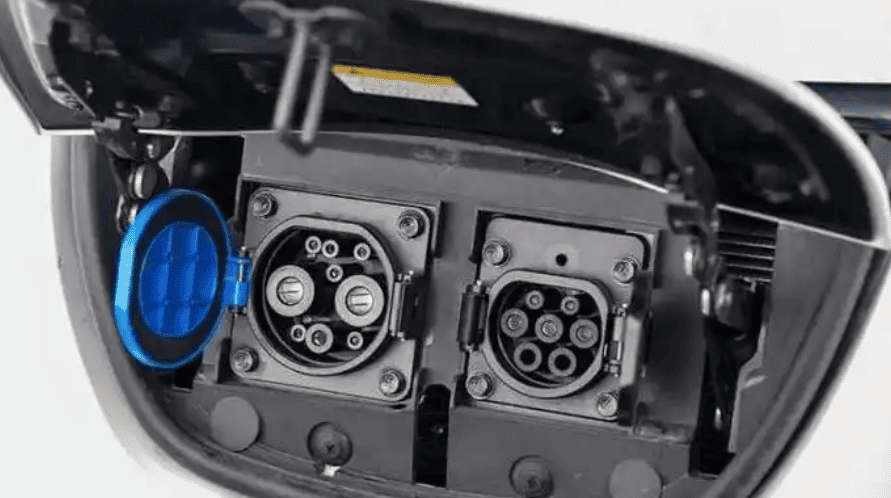
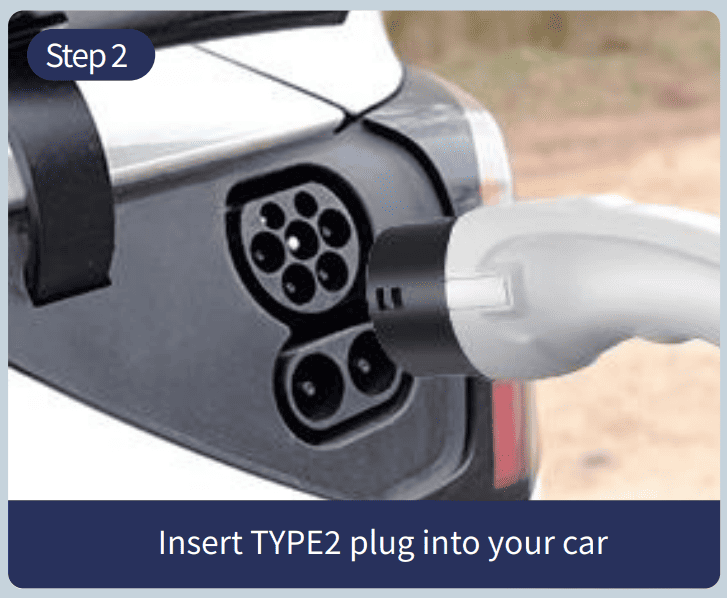
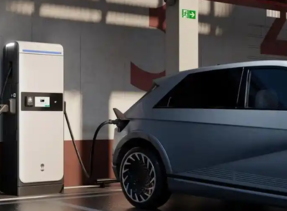
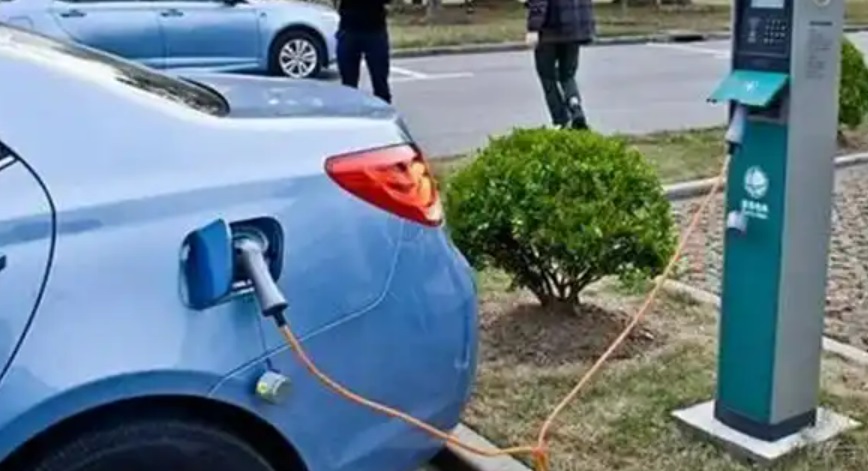
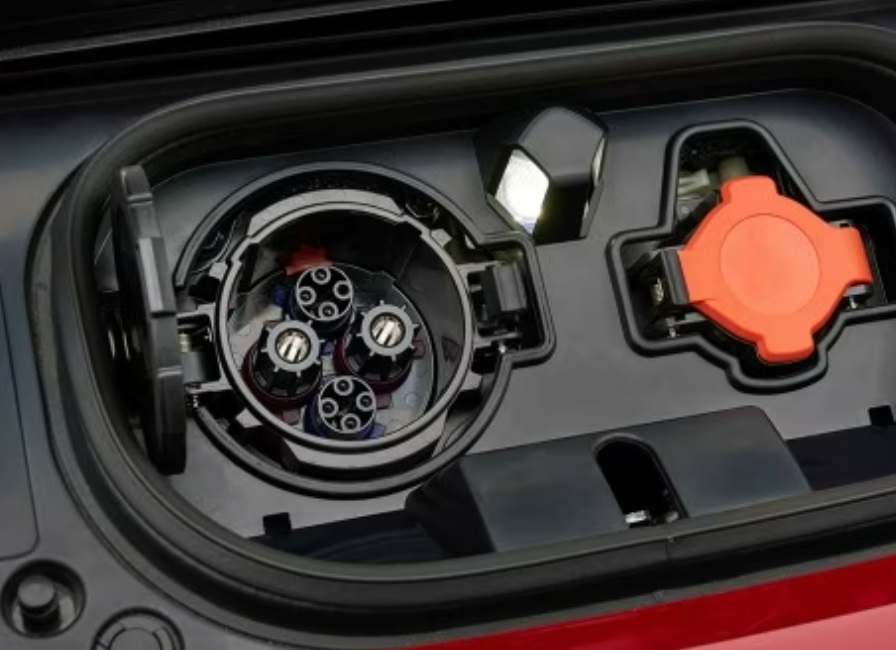
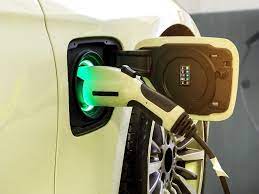
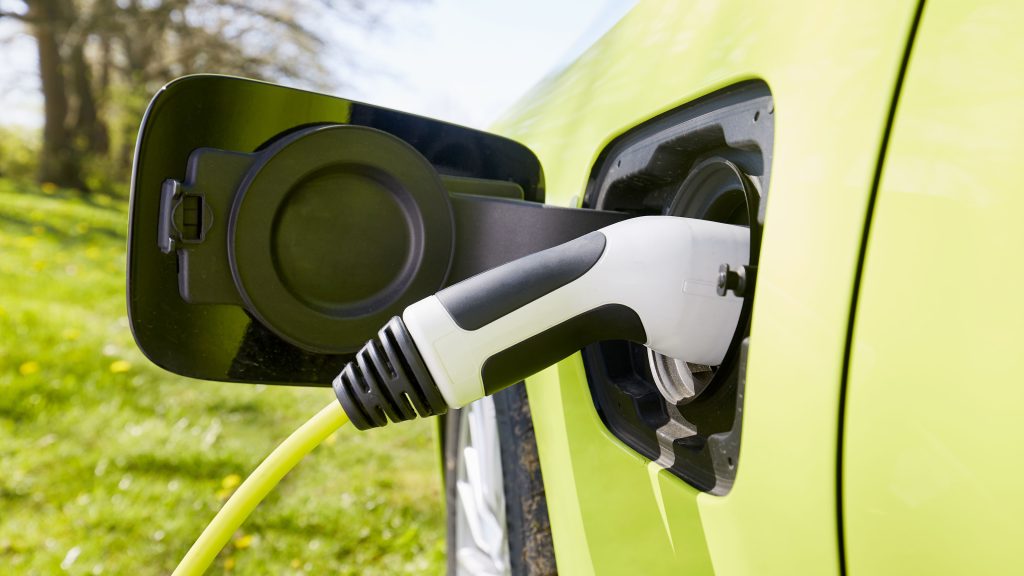
You can start charging as soon as your home is prepared and your equipment has been inspected. First, find the charging port on the left rear side of the car. Flip open the inner protective cover after gently pressing on the charge port door’s edge. The power source should then be connected. If you are using Level 1, simply plug the standard 110V plug into a grounded wall outlet. For Level 2, plug the 240V plug into your dedicated outlet. After that, take the charger handle, unlock it by pressing the button, and then securely place it into the car’s charging port. You will hear and feel a distinct click, confirming a secure connection. The vehicle will then perform a series of checks before starting the flow of electricity.
Confirming a Successful Connection
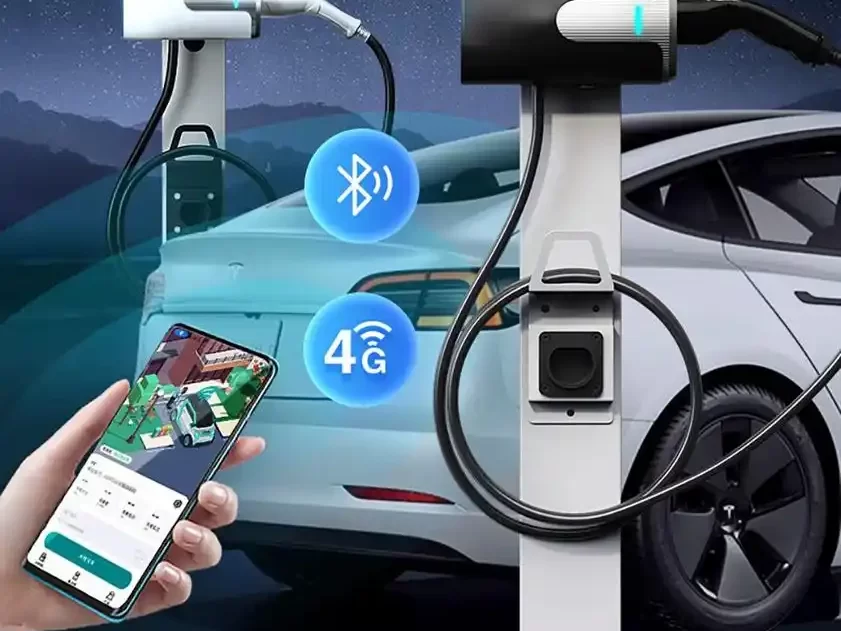
It is crucial to verify that your vehicle is charging correctly. Upon a successful connection, the charging status light on the vehicle’s charge port will illuminate, and a notification will appear on the driver’s information cluster screen confirming that charging is active. The charger handle itself may also have an indicator light that flashes or turns a specific color, often green, to denote that power is flowing. If you do not see these confirmations, first ensure that the charger handle is fully seated in the port and that the wall outlet’s circuit breaker has not tripped. The myChevrolet mobile app is an excellent tool for this, as it will provide a clear remote status update on your smartphone.
Critical Safety and Battery Care Tips
Safety is paramount when dealing with high-voltage electricity. Never touch the metal terminals of the plug or charger handle with wet hands or while standing in water. Avoid charging in heavy rain or during lightning storms. If you ever notice unusual sounds, smells, or smoke coming from the charger, the outlet, or the vehicle’s charge port, stop charging immediately by unplugging and contact a professional. For long-term battery health, it is generally recommended to avoid consistently charging to 100%. Using the vehicle’s charging settings or the mobile app, you can set a target charge level of around 80% for daily use, only charging to full capacity for longer trips. This practice helps maximize the lifespan of your Blazer EV’s high-voltage battery.
Using Technology to Monitor and Control Charging
The myChevrolet app transforms your phone into a powerful charging management tool. Beyond simply confirming a connection, you can remotely monitor the charging progress, see the exact state of charge, and receive an alert when charging is complete. You can also schedule charging sessions to take advantage of off-peak electricity rates and precondition your vehicle’s cabin temperature while it’s still plugged in, preserving battery range for your journey. The app also provides public charging station locator services for when you are on the road.
Completing the Charging Session
When your Blazer EV has reached its target charge level, the process will automatically stop. To disconnect, simply press the button on the charger handle to release the lock and gently pull it straight out from the vehicle’s port. To keep the charger handle off the ground, carefully replace it in its holster on the portable device. Finally, make sure the outer door is sealed against the weather by closing the inner protective flap on the car’s charge port and firmly closing it until it clicks. Your car is now prepared for travel.
With these tips, charging your Chevrolet Blazer EV at home becomes easy, safe, and a part of your everyday routine. Home charging is the most efficient way to power your electric driving experience because it’s convenient to wake up to a fully charged car, and it also combines smart features from the car and mobile app.
Contact Us
Contact Us
Whatsapp/Mobile: +86 18019762979
Email: sales@lkmixer.com