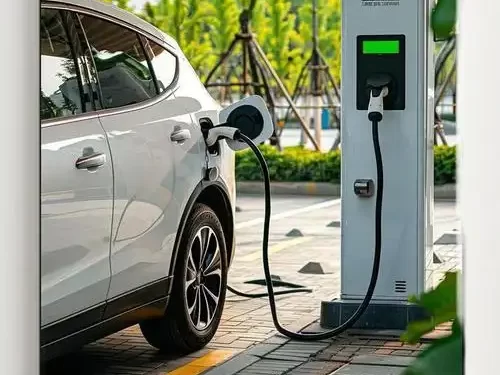
How to install an ev home charging station?
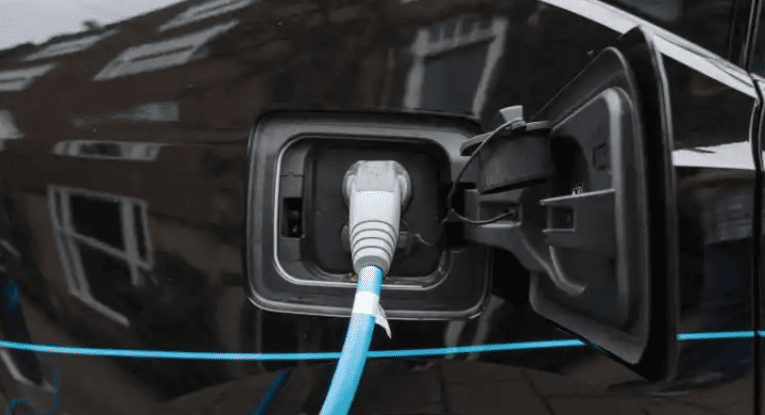
How to Install an EV Home Charging Station?
Confirming installation conditions, preparing documentation, applying for a dedicated meter, choosing equipment, scheduling professional installation, and finishing final inspections are the six essential steps in installing an EV home charging station. The entire process usually takes two to six weeks from planning to operation. This thorough guide breaks down each step for a smooth home-charging setup, even though specific requirements differ by region and type of property.
Step 1: Verify Installation Prerequisites
Before purchasing equipment, validate these non-negotiable conditions:
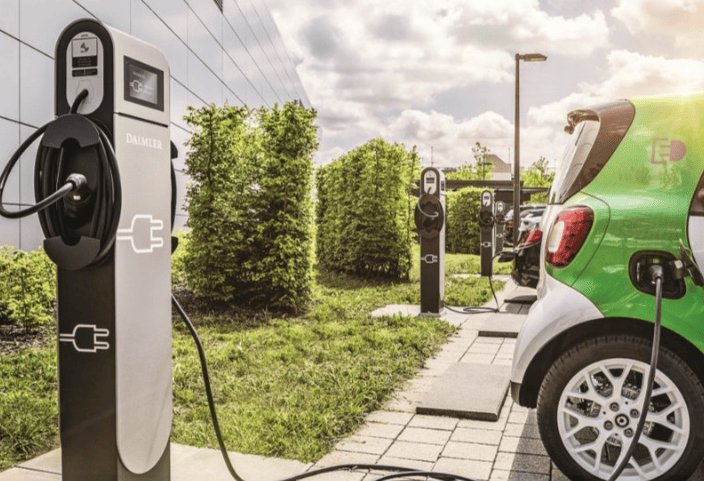
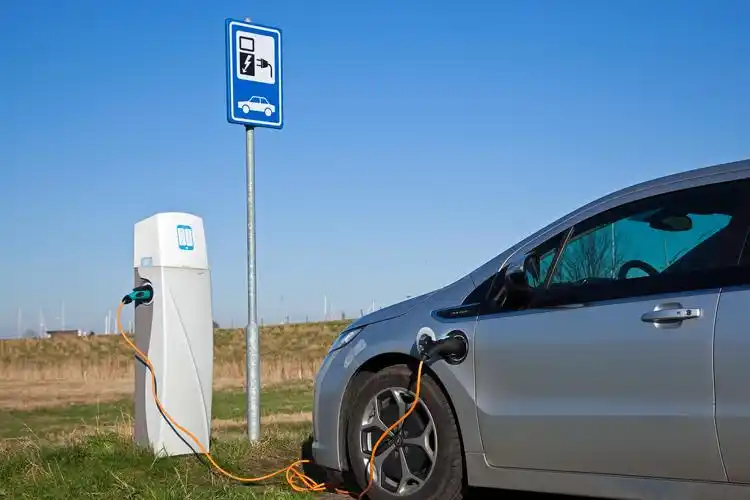
- Dedicated Parking Space: You’ll need a permanently assigned spot – either owned or leased for 1+ years – with minimum dimensions of 2.5m (width) × 5m (length). This ensures safe charger access and complies with fire codes prohibiting shared/public area installations. Apartment residents must confirm building manager approval for reserved spots.
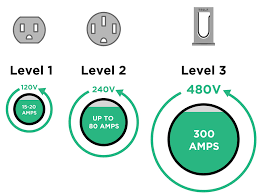
- Electrical Capacity: Standard 7kW chargers require 10kW+ spare capacity in your property’s electrical panel. Older buildings (pre-2000) often need upgrades – consult your utility company (e.g., State Grid in China) for a load assessment. For 11kW+ units, three-phase 380V power is mandatory.
- Property Manager Approval: Submit a formal installation request detailing mounting location, cable routing plans, and equipment specifications. In China, property managers typically issue a stamped “Consent Letter” – essential for meter applications. Negotiate early; some buildings restrict conduit types (e.g., metal vs. PVC) or require licensed contractors.
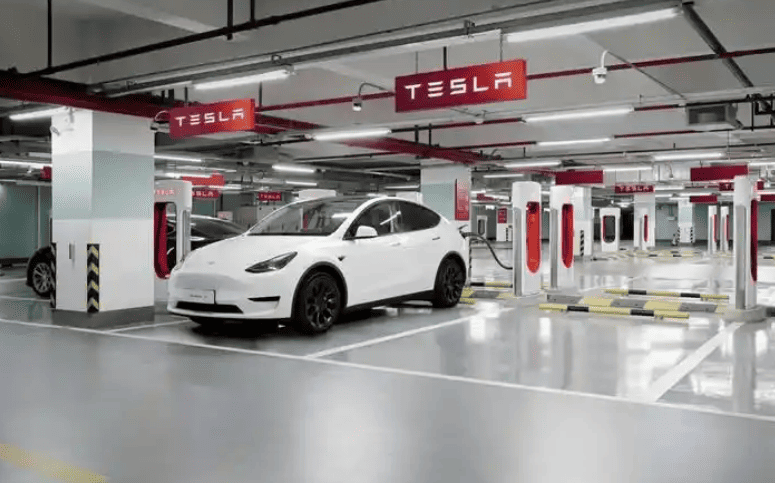
- Environmental Safety: Installations require dry, ventilated areas ≥1m from flammables. Garages and covered carports are ideal; avoid damp basements or sun-exposed outdoor walls without weatherproof enclosures.
Step 2: Prepare Documentation
Gather these materials for utility and property submissions:
- Ownership/Legal Proof: Property deed or notarized parking lease (≥1 year).
- EV Purchase Agreement: Proves vehicle eligibility for subsidized installations.
- Property Consent Letter: Signed/stamped approval from building management.
- ID and Contact Details: Government-issued ID and utility account information.
- Technical Schematics (if required): Site plans showing cable paths, prepared by certified electricians.
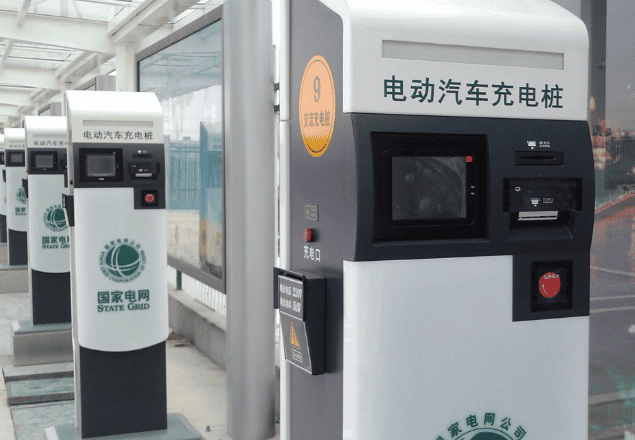
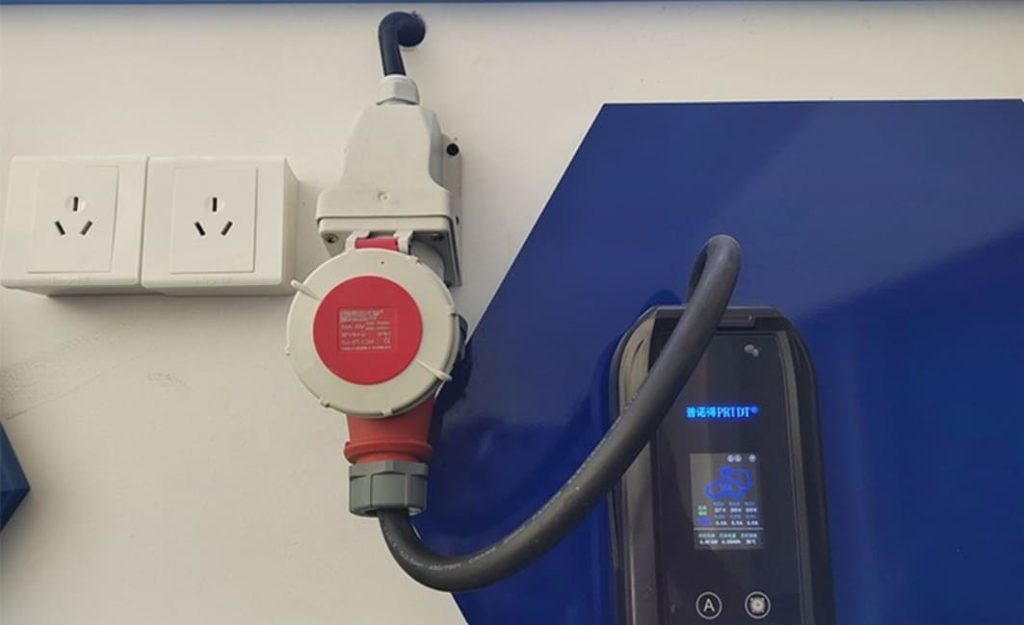
Step 3: Apply for Dedicated EV Meter
Separate metering locks in preferential electricity rates (e.g., China’s ¥0.22/kWh off-peak tariffs):
- Application Method: Use regional portals like State Grid’s App (China) or utility websites. Select “New Energy Vehicle Meter Installation” and upload scanned documents.
- Site Inspection: Utility engineers visit within 3–7 days to:
- Verify parking space accessibility
- Assess grid connection feasibility
- Determine optimal meter location (usually within 30m of parking spot)
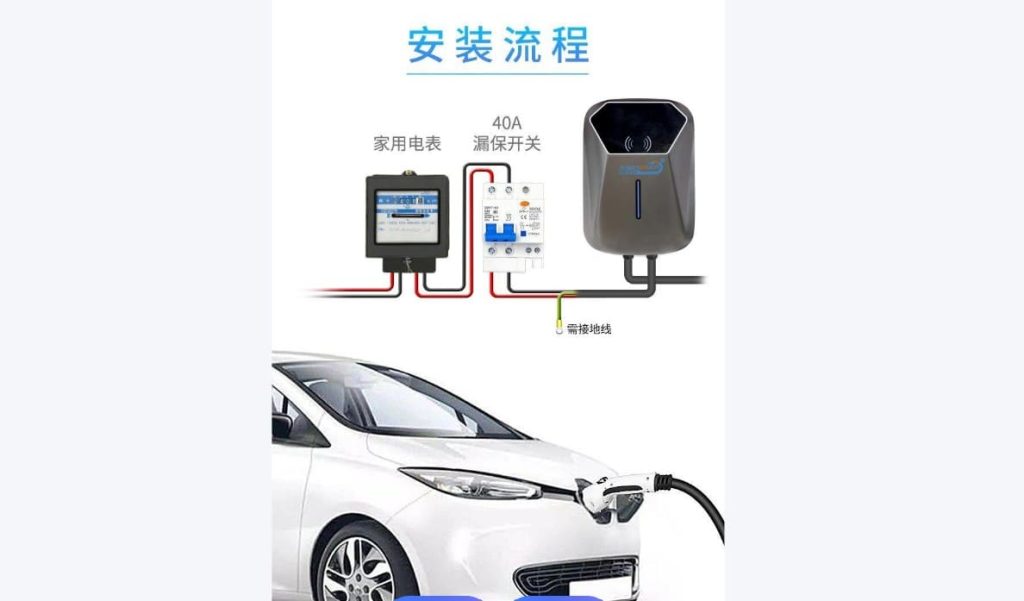
- Meter Installation: Technicians install a dedicated meter – typically completing within 48 hours post-approval. Note: Never tap into existing residential meters; this violates codes and voids warranties.
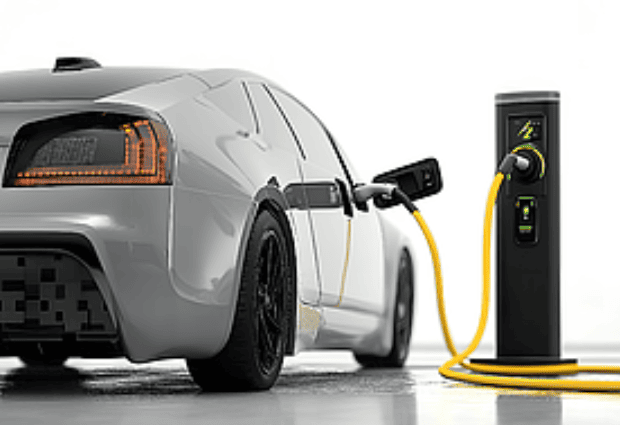
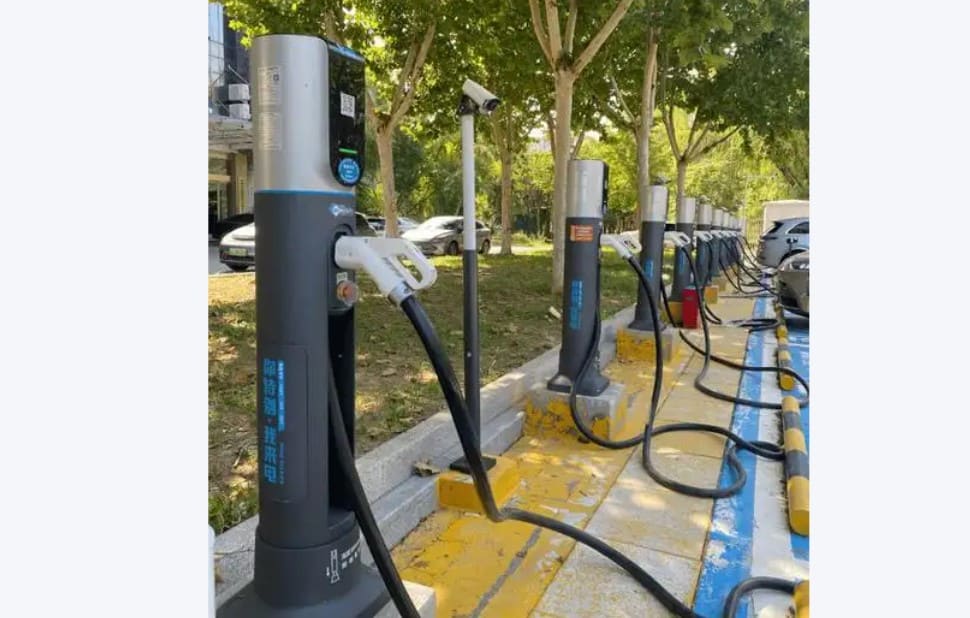
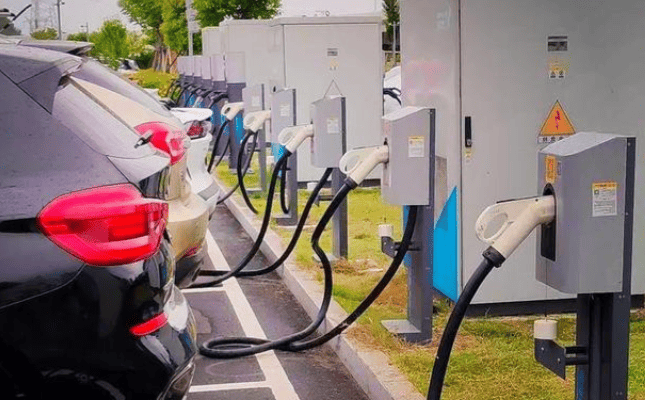
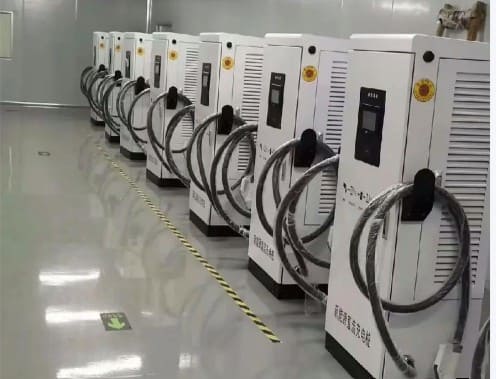
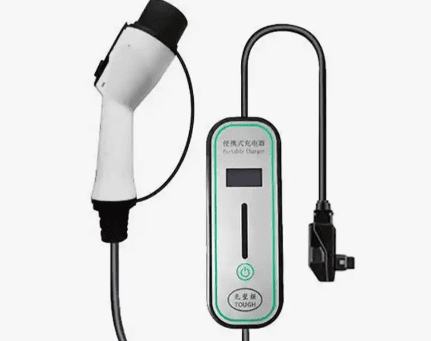
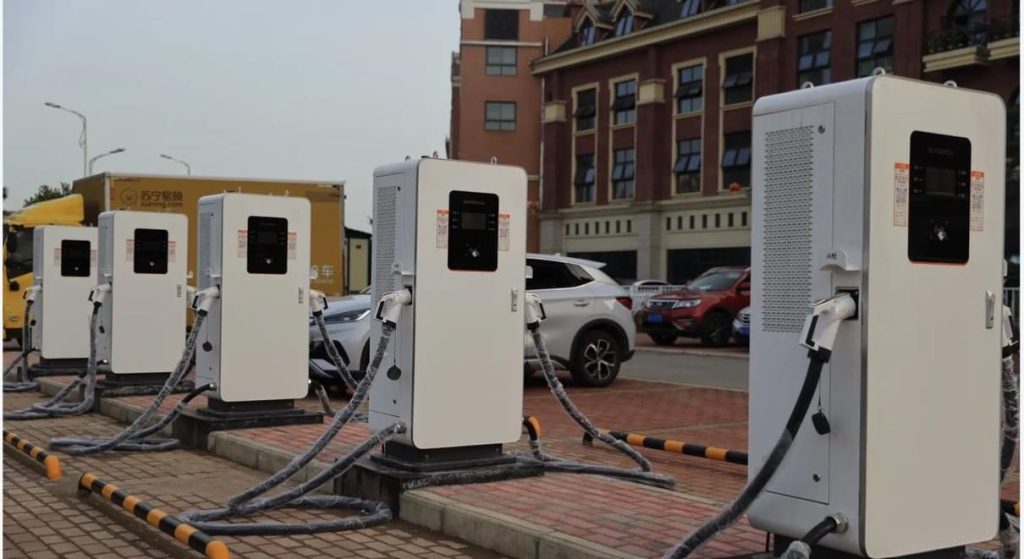
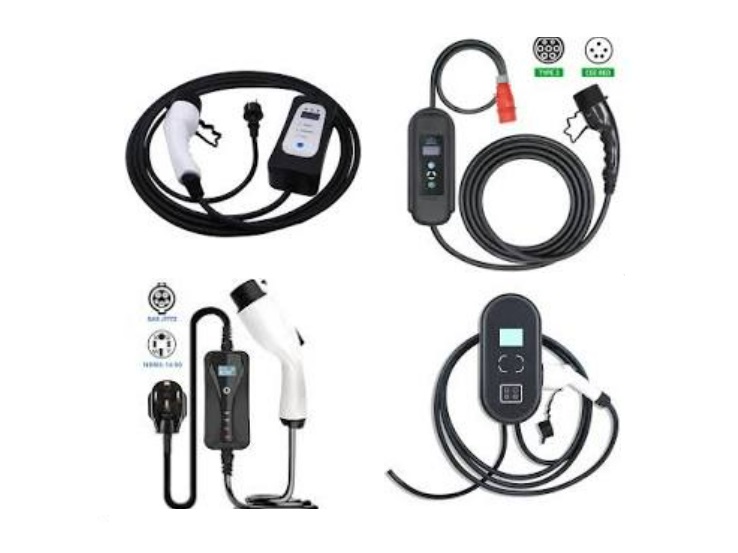
Step 4: Select Charging Equipment
Match hardware to your EV’s capabilities and usage patterns:
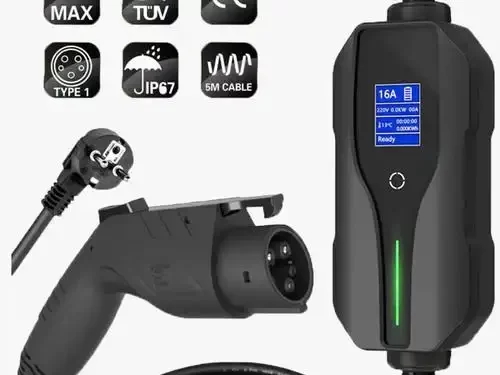
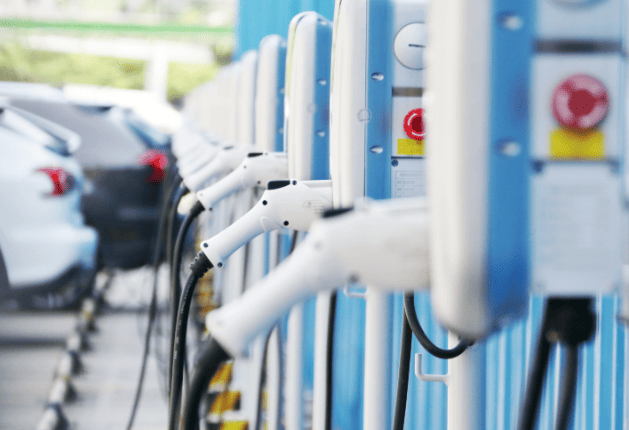
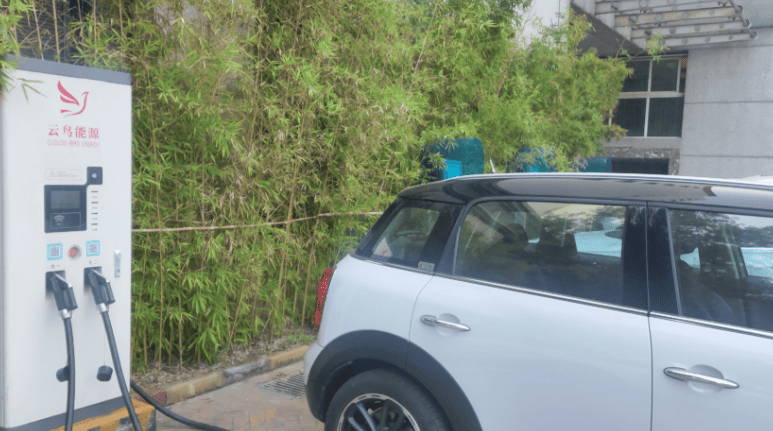
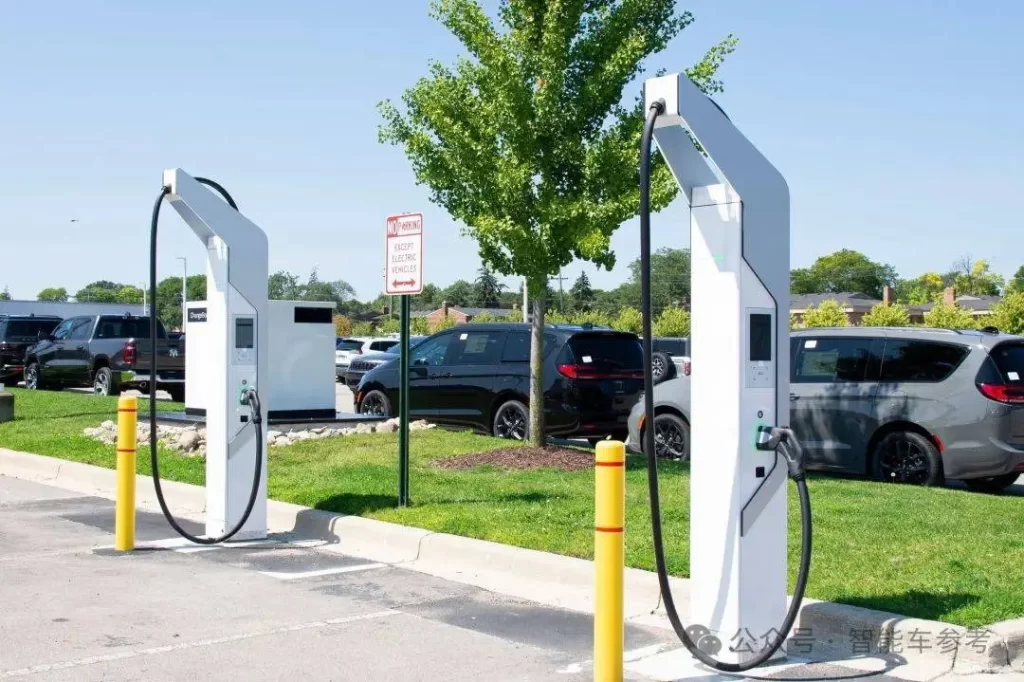
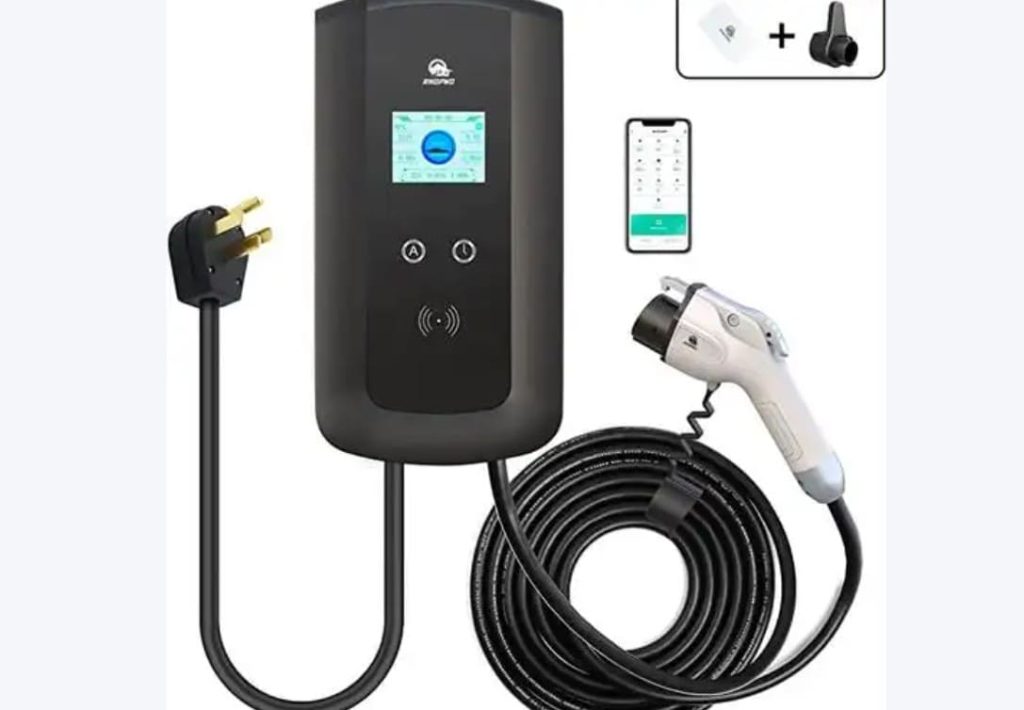
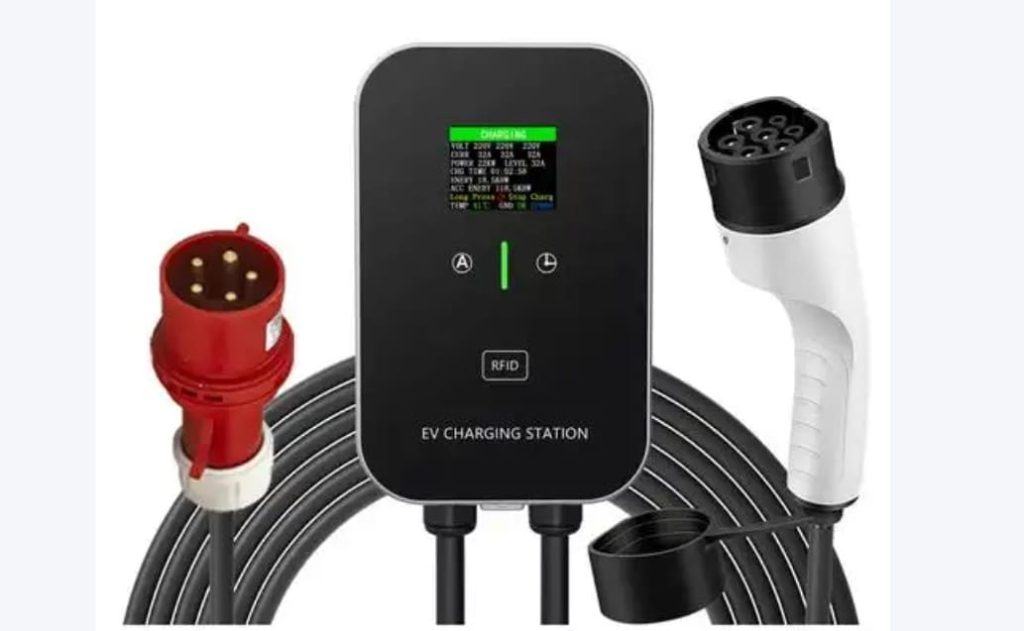
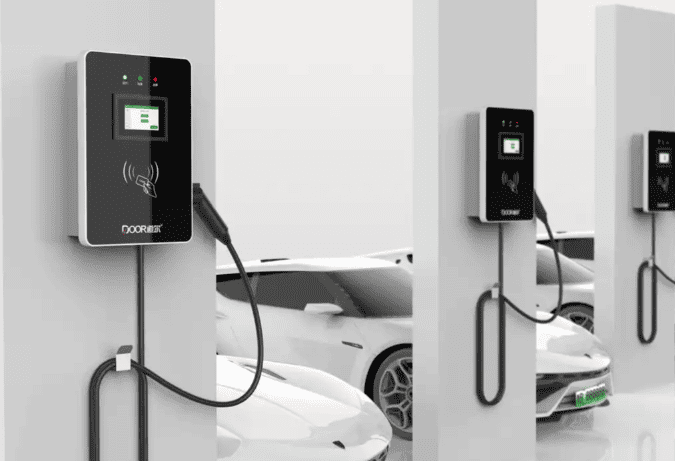
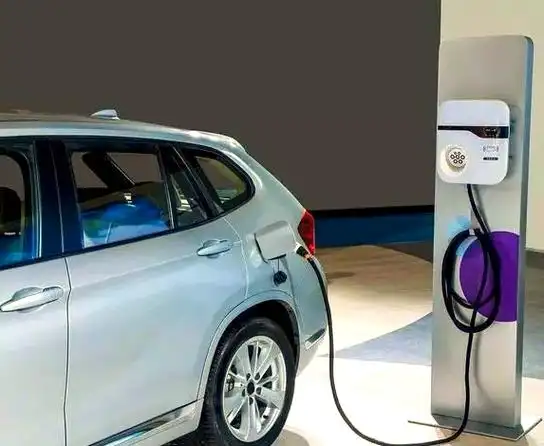
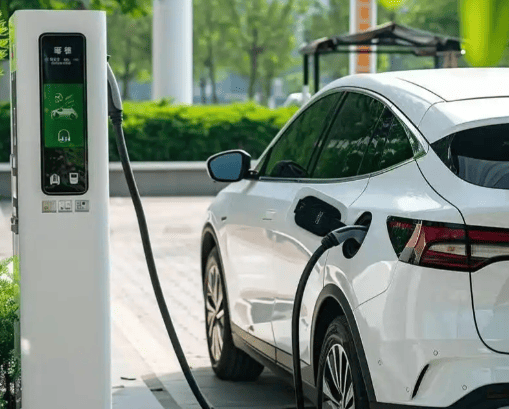
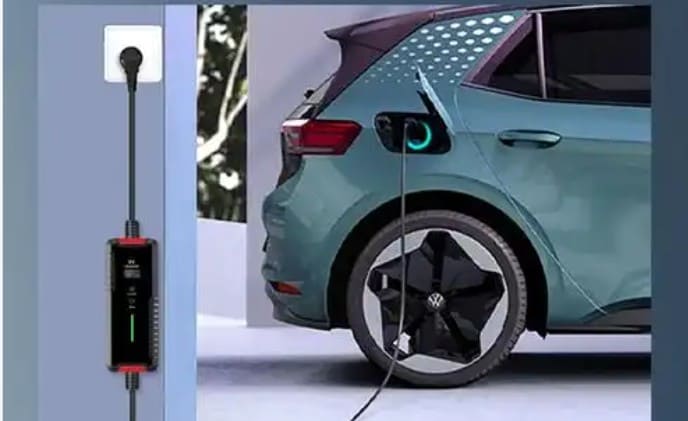
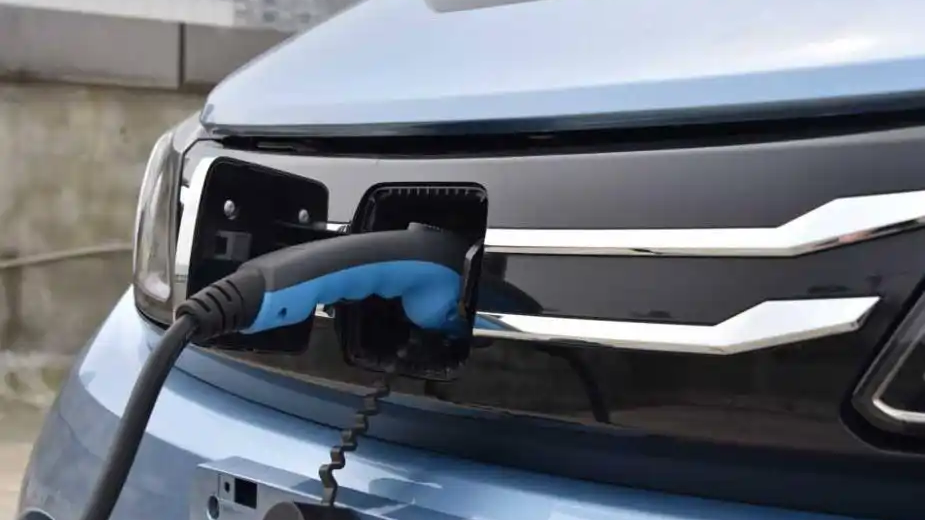
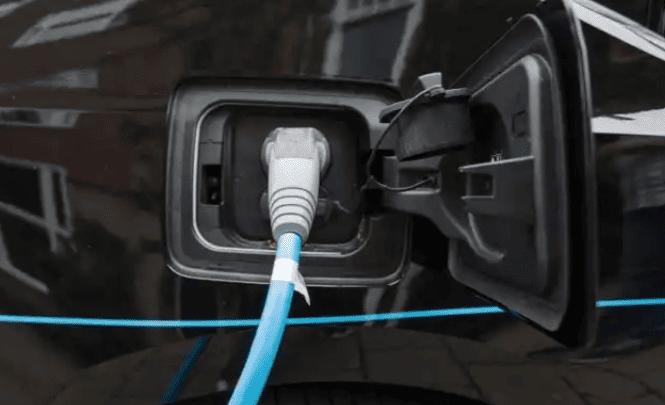
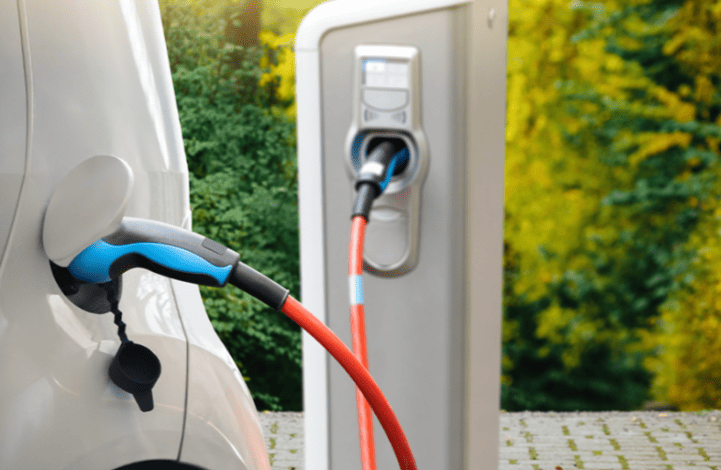
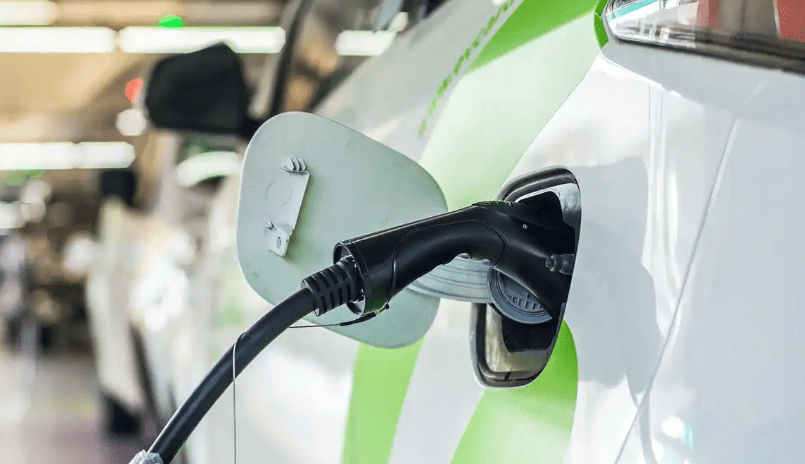
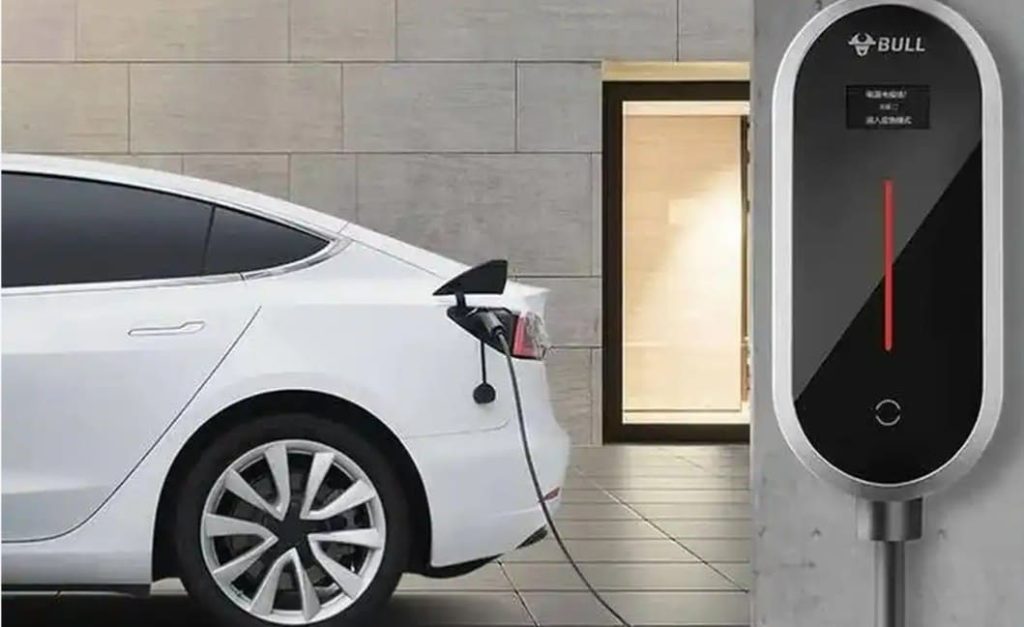
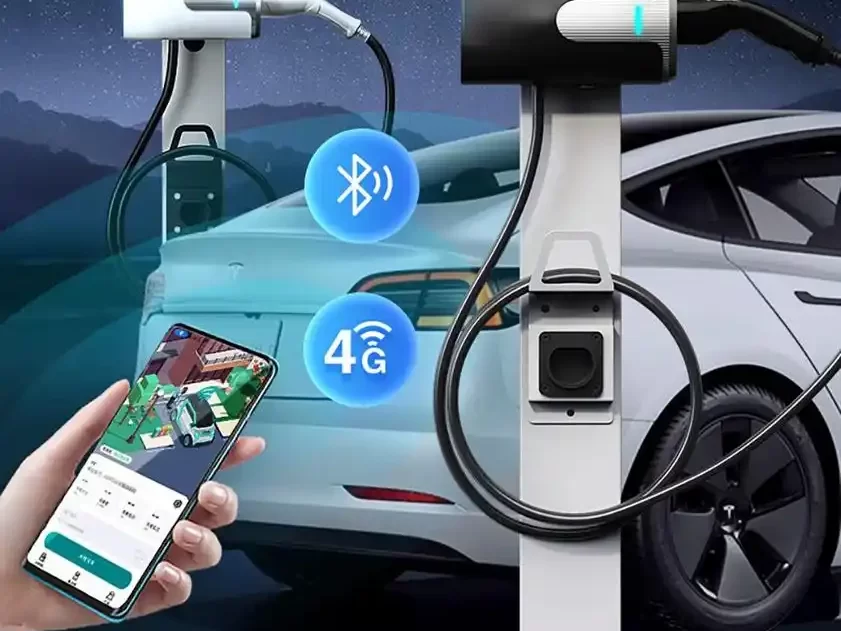
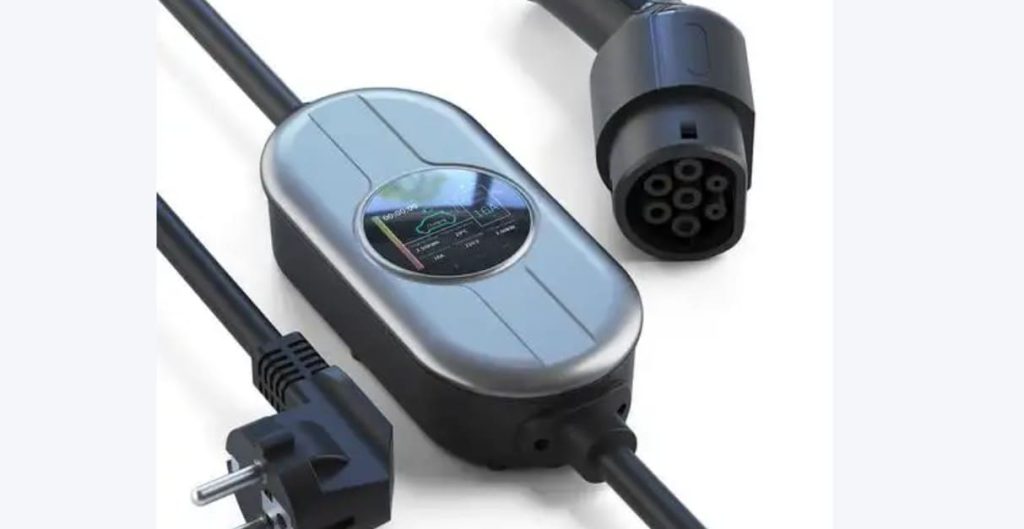
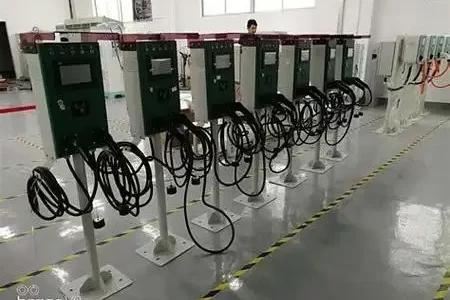
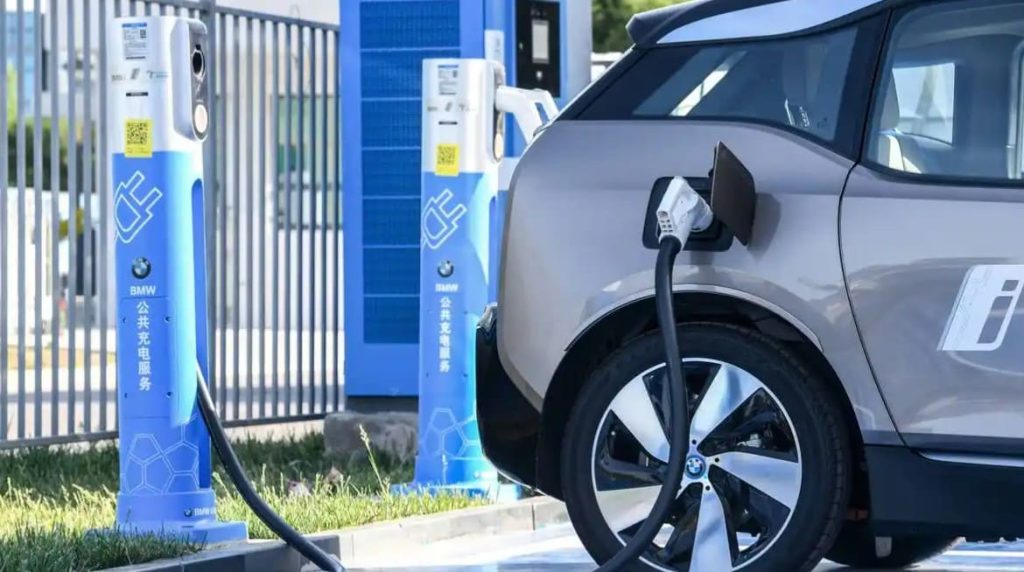
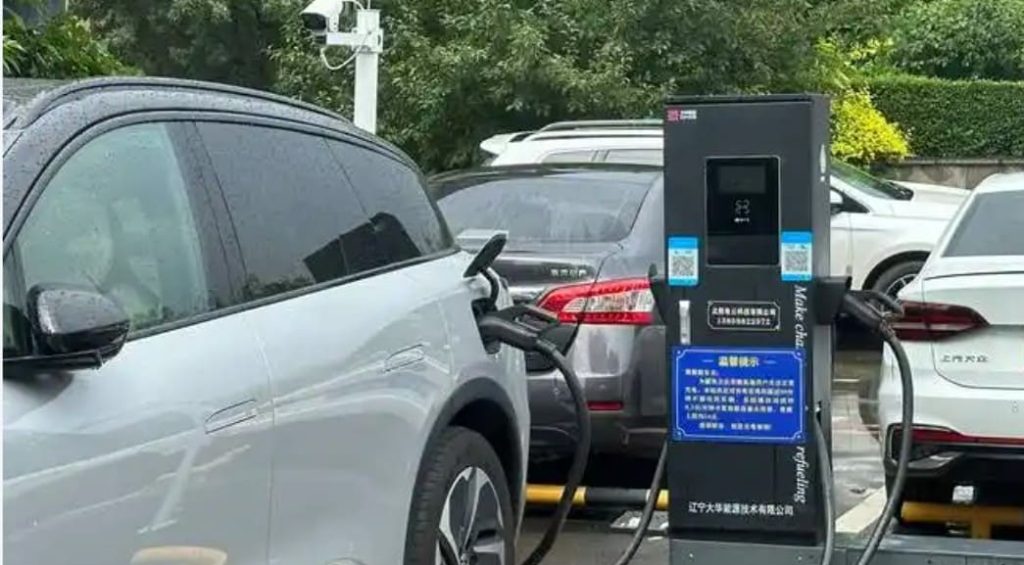
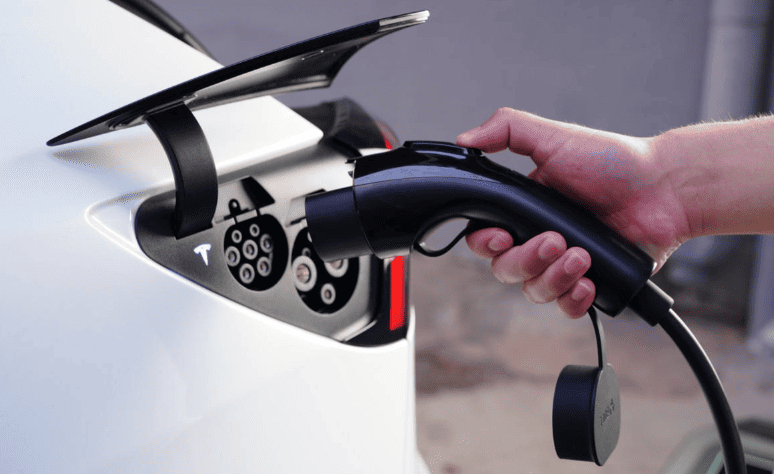
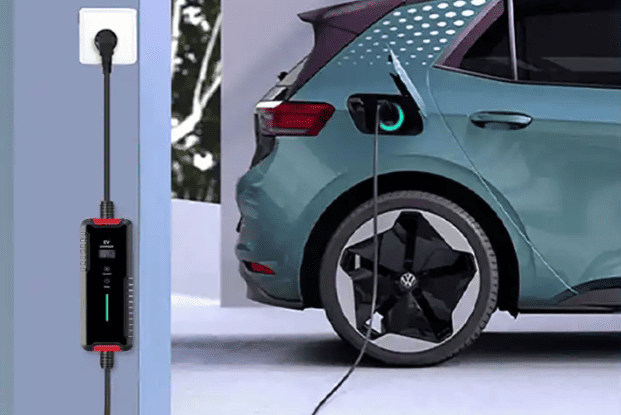
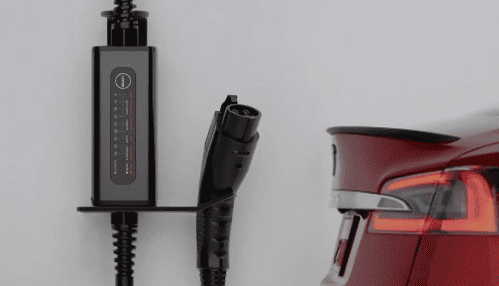
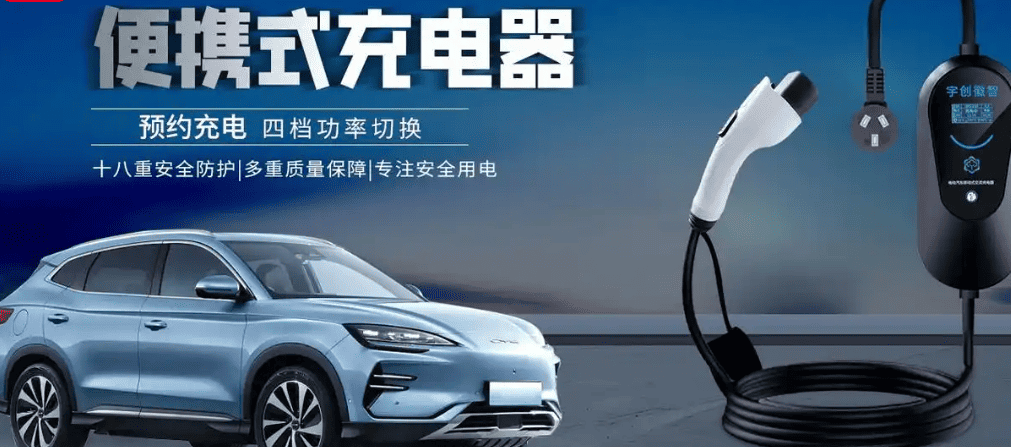
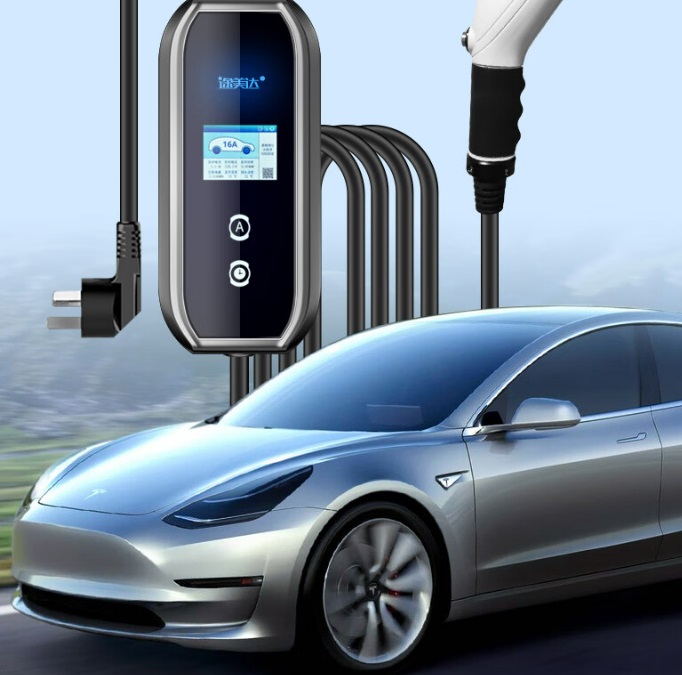
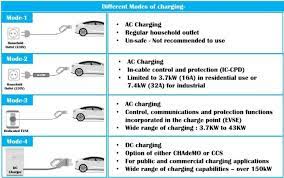
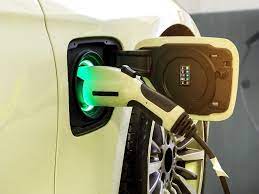
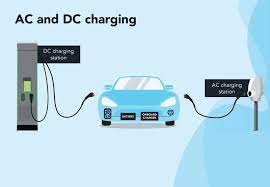
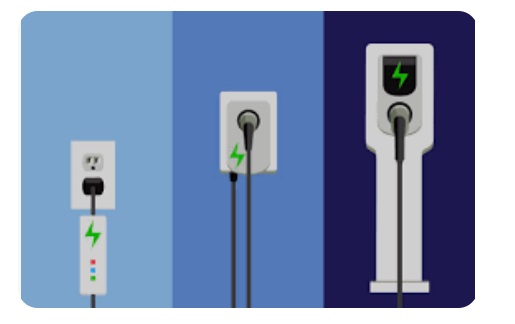
- AC Chargers (7–11 kW): Ideal for overnight charging. Brands like Xiaomi (¥2,999), Bull (¥3,314), or Delixi (¥1,009) offer Wi-Fi-enabled models with scheduling. Prioritize units with:
- IP65 waterproof rating
- Overload/ground-fault protection
- Auto-shutoff at 95% charge (extends battery life)
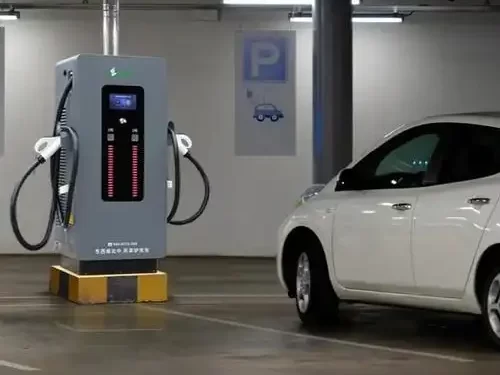
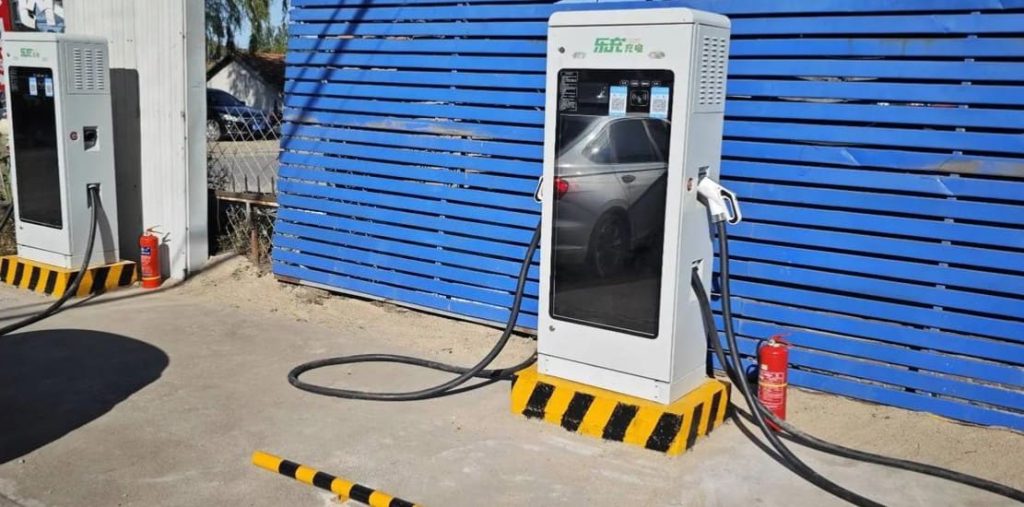
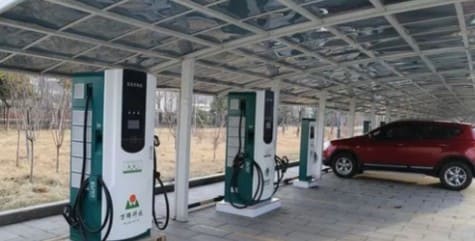
- DC Chargers (20 kW+): Only viable for homes with industrial power access. NIO’s 20 kW unit (¥15,800) requires 380V input and professional thermal management.
- Cable Specifications: 6mm² copper wiring (7 kW) or 10mm² (11 kW) – avoid undersized cables causing voltage drops.
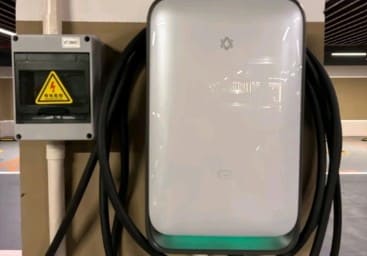
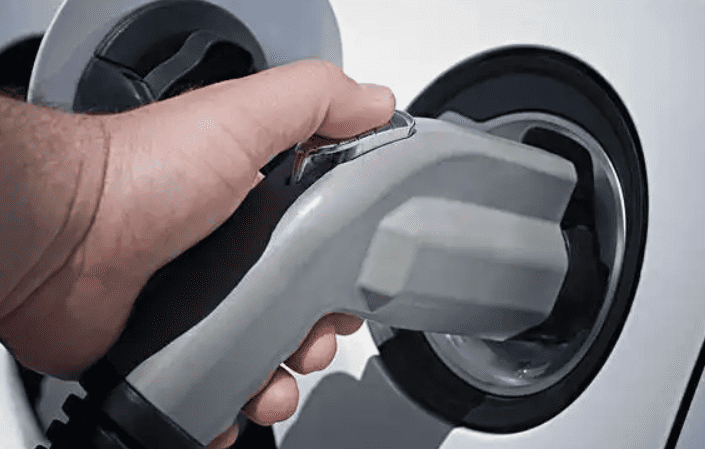
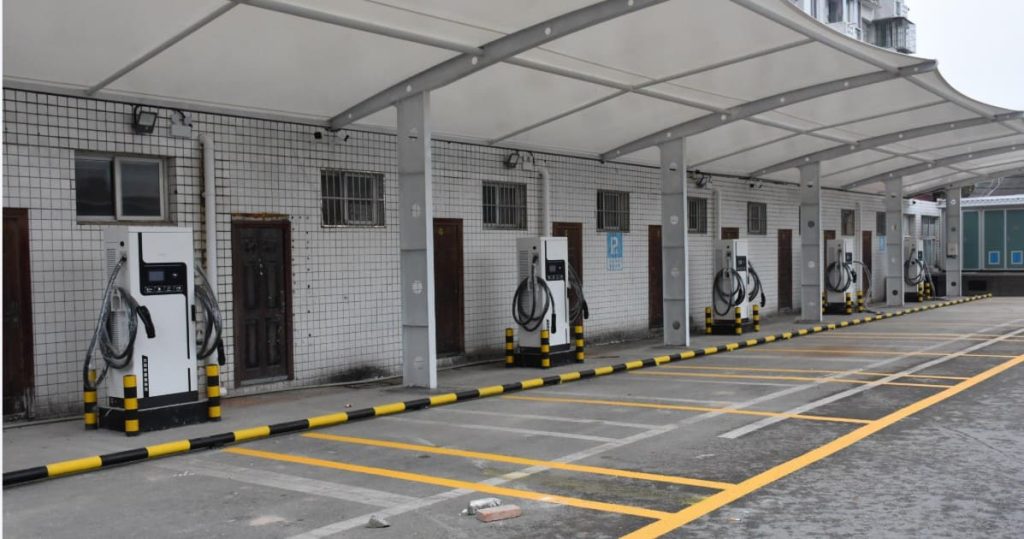
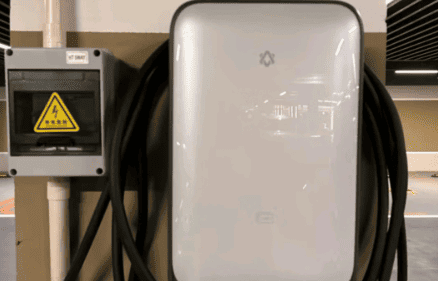
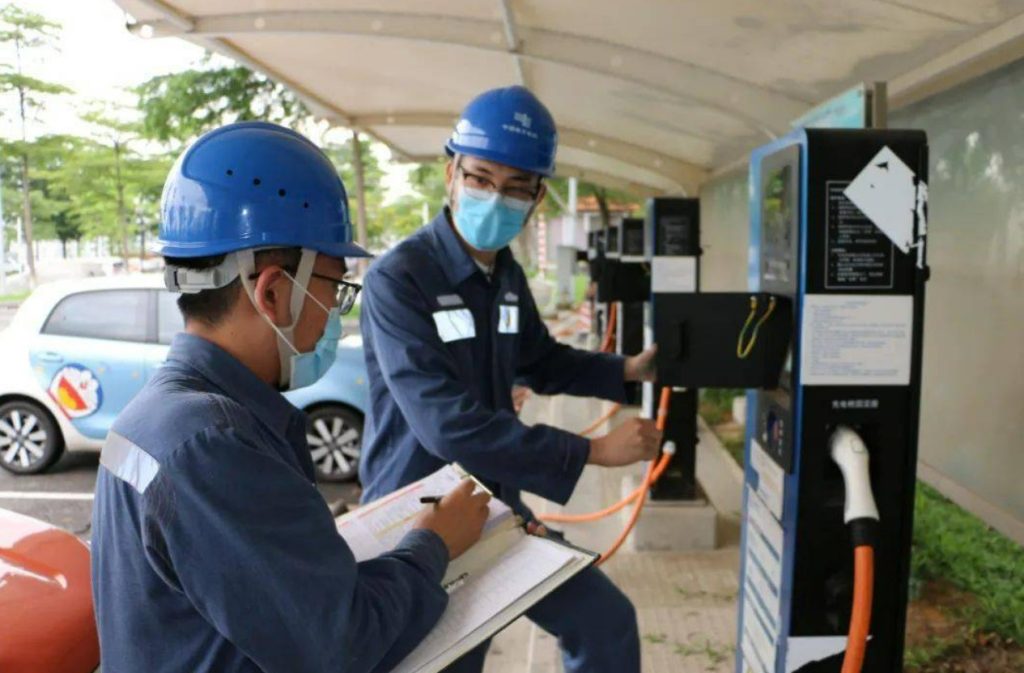
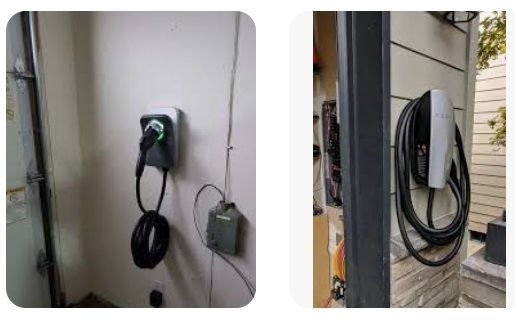
Step 5: Professional Installation Process
Licensed electricians handle this high-risk procedure:
- Route Planning: Cables run through conduit-protected paths along walls/ceilings – never across walkways. Expect ¥45–90/meter for materials.
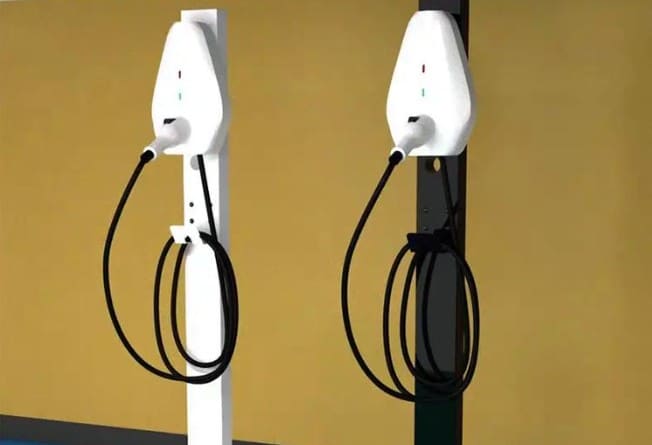
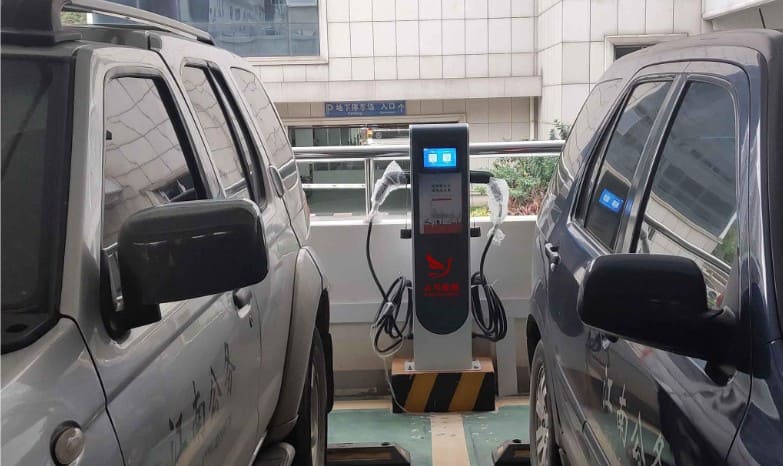
- Mounting: Wall-mounted chargers install 1.2–1.5m above ground with anti-theft bolts. Pedestal units require concrete foundations.
- Wiring:
- Connect meter to charger via circuit breaker (e.g., 32A for 7 kW)
- Ground all components to prevent electrocution
- Seal outdoor connections with waterproof junction boxes
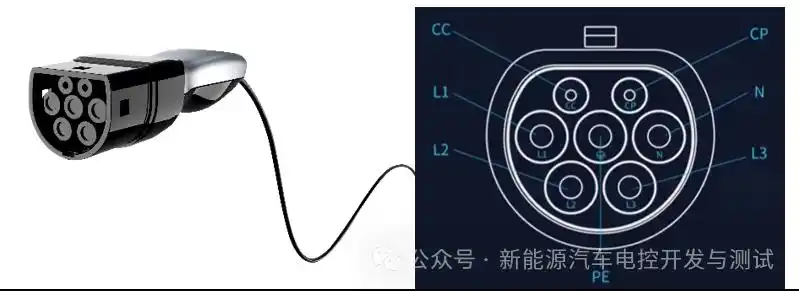
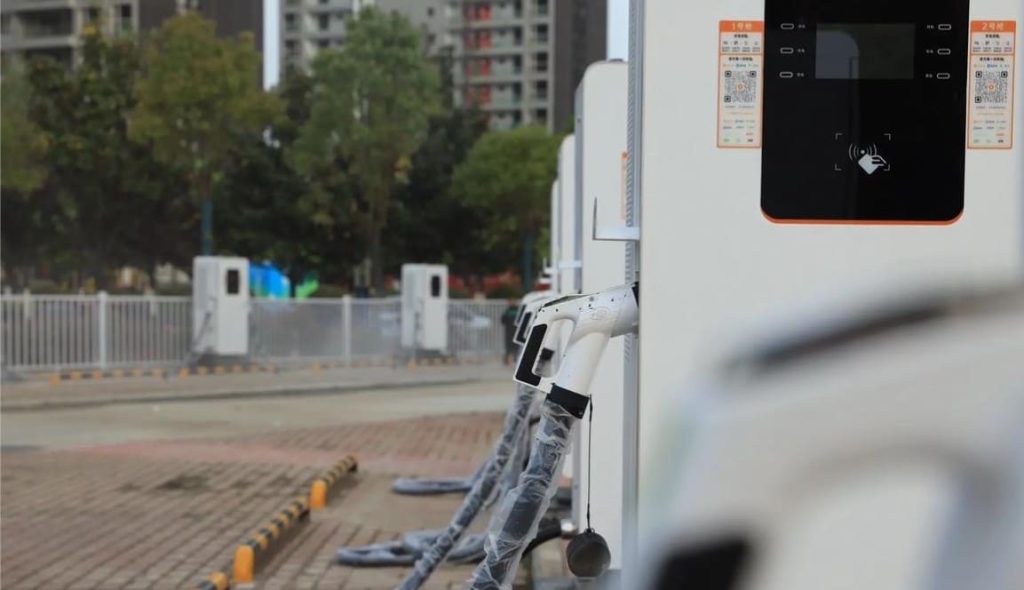
- Testing: Technicians verify:
- Leakage current (<30mA)
- Voltage stability (220V±10%)
- Emergency stop functionality
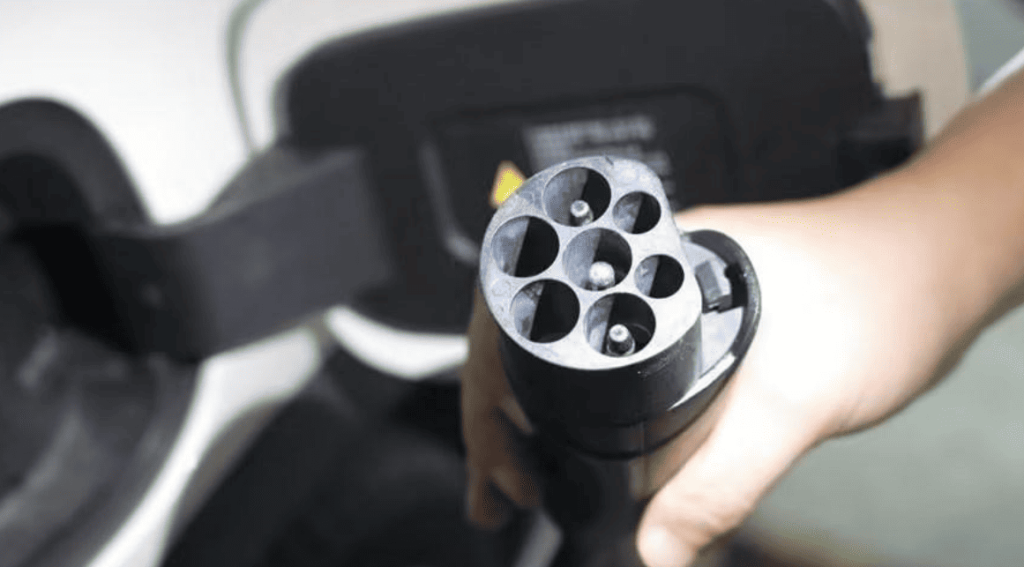
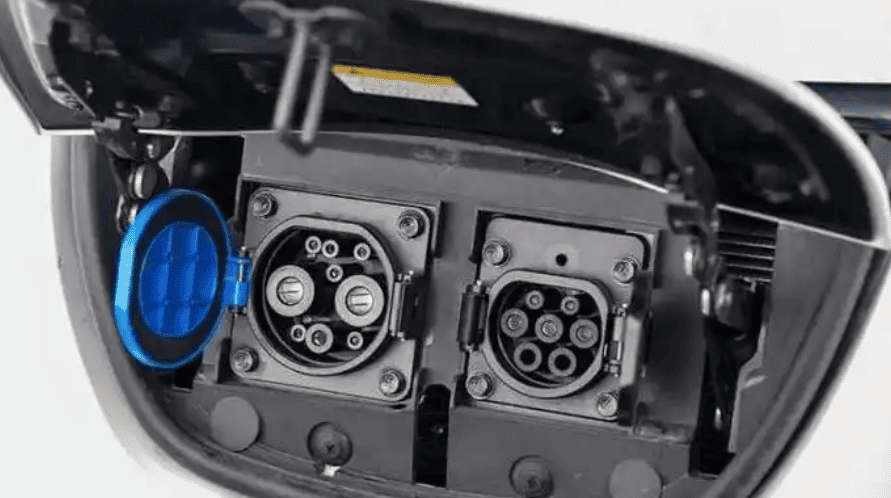
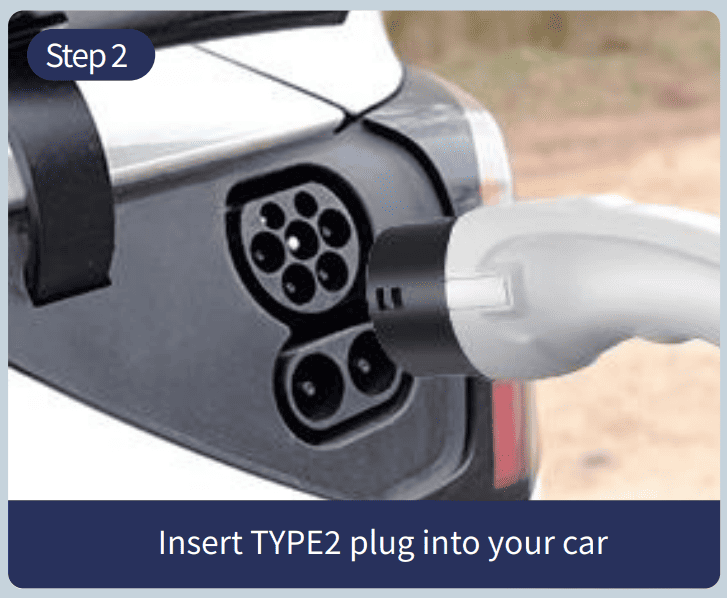
- Vehicle-handshake communication (e.g., Tesla/BYD recognition)
Brand-Specific Notes:
- BYD: Free 30m cable + installation via their app; beyond 30m costs ¥45/m extra.
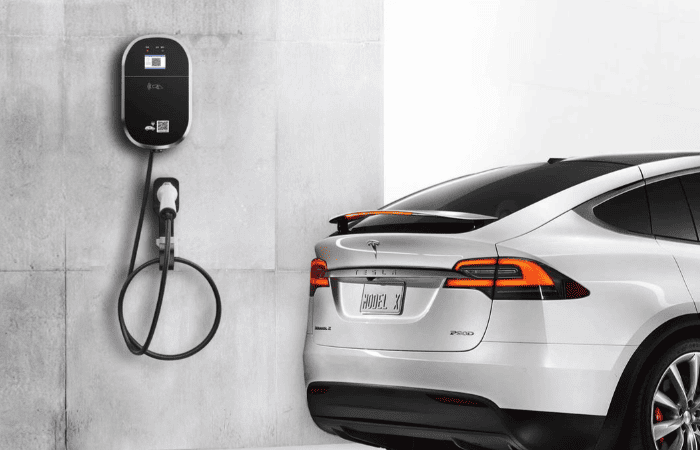
- Tesla: Includes Generac NEMA 14-50 outlet with purchase; wall connector adds ¥8,000.
Step 6: Final Inspection and Activation
The last mile involves regulatory sign-off:
- Utility Inspection: Safety compliance and meter-charger alignment are certified by State Grid (or its local equivalent). After sealing the meter, they will turn on the service.
- Walkthrough with the property manager: Verify compliance with building codes; some call for fire department paperwork.
- Trial Charge: Check for error codes or overheating cables by running a full cycle monitoring.
Critical Considerations & Cost Traps
- Unstated Costs:
- Trenching: The cost of an underground conduit ranges from ¥180 to ¥350/m.
- Panel Upgrades: 200A service upgrades cost between ¥8,000 and ¥20,000.
- Extended Warranty: ¥600–1,200 is added for three years of coverage.
- Avoid these safety violations:
- Daisy-chaining extension cords
- Using circuit breakers that are not rated
- Ignoring ground-fault protection
- Maintenance: Corrosion and connection issues are avoided with yearly inspections (¥300–500).
Why Professional Installation Is Non-Negotiable
DIY attempts risk:
- Electrical Fires from undersized wiring (e.g., using 4mm² cables for 11 kW loads)
- Voided Vehicle Warranty (manufacturers like NIO deny claims for charger-related damage)
- Legal Liability for property damage or injuries
- Grid Penalties up to ¥10,000 for unapproved connections
Timeline & Next Steps
| Phase | Duration |
|---|---|
| Documentation/Approvals | 1–2 weeks |
| Meter Installation | 3–5 business days |
| Charger Setup | 4–8 hours |
| Inspections | 1–3 days |
Post-installation:
- Register charger with manufacturer for OTA updates.
- Install utility apps like State Grid to track usage/earn rebates.
- Set off-peak charging schedules (e.g., 12 AM–7 AM).
Final Advice: Fuel savings from a properly installed station pay for itself in 18 to 24 months, even though the basic station costs ¥2,500 and the premium station costs ¥50,000. For assured compliance, collaborate with approved suppliers such as State Grid-affiliated installers, BYD, or Tesla. Keep in mind that taking short cuts on electrical work could result in disastrous failures; safety should always come before speed or cost. Li Wei, the owner of Shanghai EV, observes: “I avoided a ¥80,000 garage fire by investing an additional ¥10,000 in professional trenching and surge protection.”
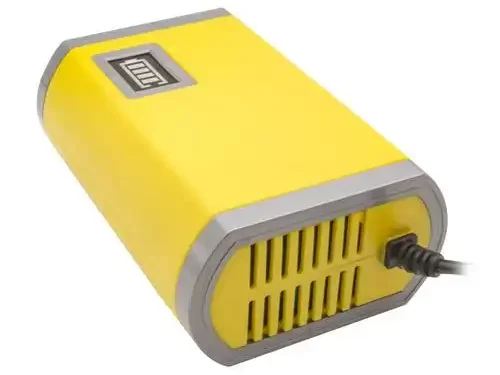
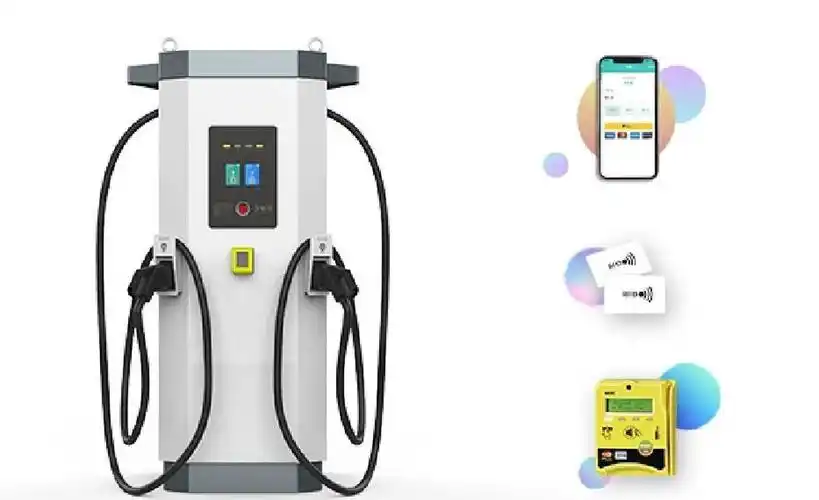
Recommend Slow Charger Products:
Charging pile:
Contact Us
Whatsapp/Mobile: +86 18019762979
Email: sales@lkmixer.com