Battery charger for car how to use?
Battery charger for car how to use?: A Simple, Safe Guide
Using a car battery charger is straightforward, but safety preparation and correct connection are absolutely crucial. Here’s a detailed breakdown of the process:
I. Preparation Before Charging (The Safety Foundation)
A safe and efficient charge requires careful preparation before you even touch the clamps. Checking for compatibility is the most important step. Make sure the output voltage of your charger is equal to the system voltage of your vehicle’s battery. Larger vehicles like buses, heavy-duty trucks, and some older diesel models may use a 24-volt system, but the great majority of passenger cars and light trucks use a 12-volt system. It is ineffective to use a 12V charger on a 24V battery, and it can be disastrous to use a 24V charger on a 12V battery, possibly resulting in the battery blowing up. Examine the charger’s specifications and the handbook for your car carefully. Next, examine the battery itself visually.Look for any obvious signs of damage: cracks in the casing, visible leaks of battery acid (a corrosive liquid), or bulging/swelling of the battery case. If you see any of these issues, stop immediately. Do not attempt to charge a damaged battery. Charging it can generate excessive heat and internal gas pressure, significantly increasing the risk of explosion or fire. Safety extends to your environment. Always charge the battery in a location with excellent ventilation. Car batteries produce hydrogen gas during charging, which is highly flammable. Even a small spark can ignite it. Therefore, operate away from open flames, pilot lights, sparks (including those from tools or static electricity), and smoking materials. Avoid charging in enclosed spaces like a closed garage; an open garage door or outdoor space is ideal. Finally, protect yourself. Wear chemical-resistant gloves (like nitrile or neoprene) and safety glasses or goggles. Battery acid is highly corrosive and can cause severe burns to skin and permanent eye damage if splashed. Having these on hand before you start is non-negotiable. A simple splash of electrolyte while connecting a clamp can lead to serious injury.
II. Step-by-Step Charging Procedure (Connecting & Powering Up)
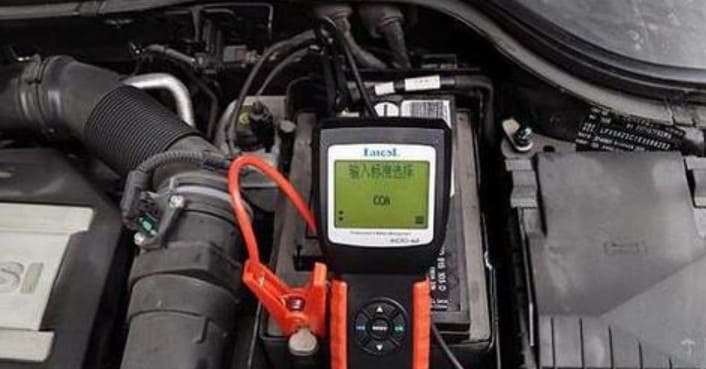
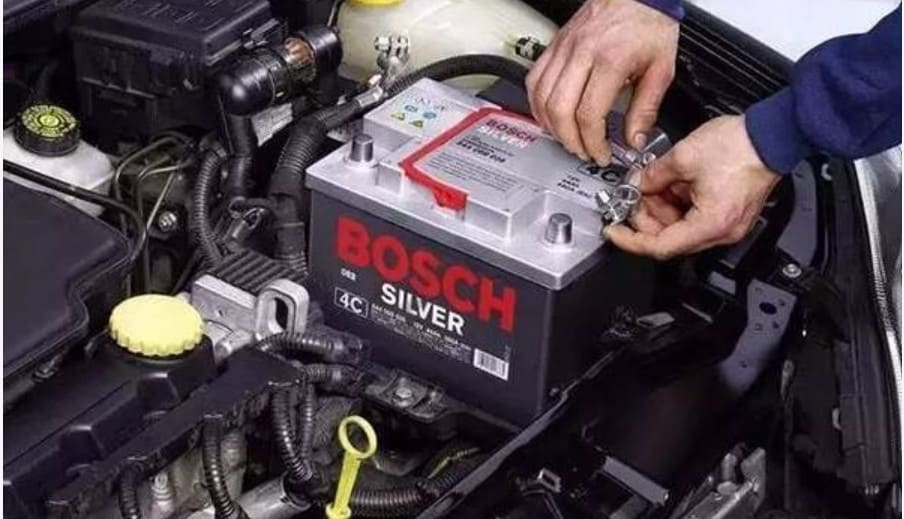
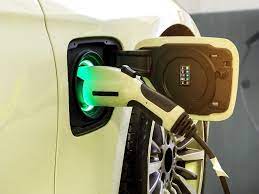
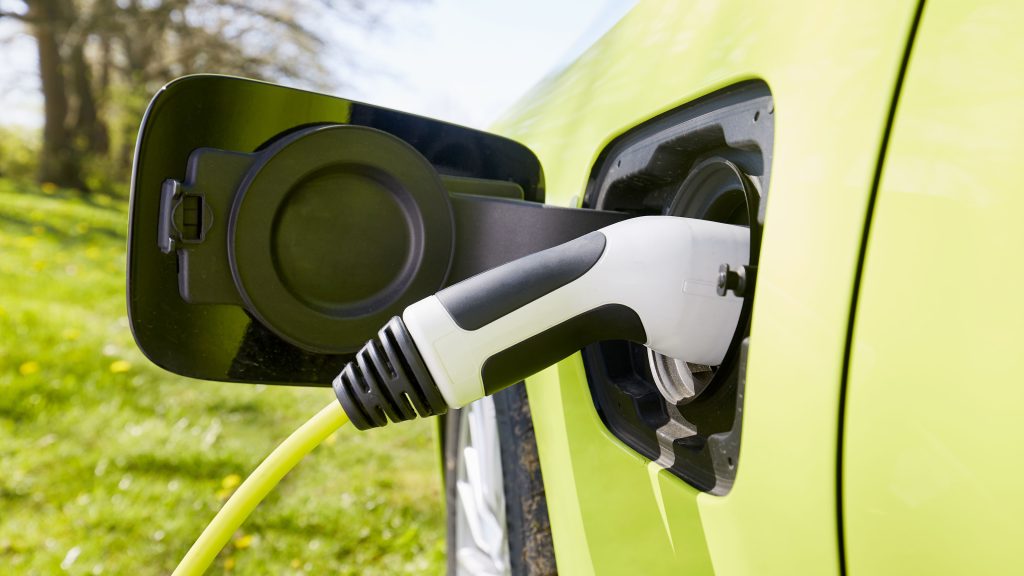
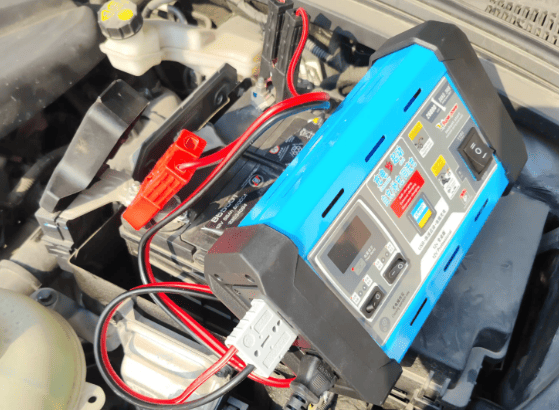
With safety preparations complete, you can begin the physical process of charging. Start by ensuring the car is completely electrically inactive. Turn off the ignition, remove the key from the ignition switch, and make sure all electrical accessories are switched off – headlights, interior lights, radio, climate control fan, etc. This prevents any unexpected power draws or sparks when connecting the charger. Now, focus on connecting the charger clamps to the battery terminals. This sequence is vital for safety. Always connect the positive (red) clamp first. Identify the battery’s positive terminal; it’s usually marked with a “+” sign, is slightly larger than the negative, and often has a red plastic cover. Securely clamp the charger’s red (+) clamp directly onto the metal part of this positive terminal post. Ensure the clamp jaws bite into the metal post itself, not just the plastic cover or any corrosion. A firm connection is necessary for good current flow. Now, connect the negative (black) clamp. Locate the battery’s negative terminal, marked with a “-” sign and often black. For the safest connection, especially if there’s any concern about sparking (which could ignite hydrogen gas near the battery), connect the black clamp to a solid, unpainted metal part of the car’s chassis or engine block, well away from the battery itself. A bolt on the engine block or a sturdy bracket on the chassis is ideal. This provides a ground connection without creating a spark directly at the battery terminals. If the battery is clean, dry, and well-ventilated, you can connect the black clamp directly to the negative (-) terminal post, but the engine block/chassis method is generally recommended as the safest practice. Only after both charger clamps are securely connected to the car (red to battery positive, black to chassis/engine block or battery negative) should you plug the charger into a standard household electrical outlet and turn on the charger’s power switch (if it has one). Next, configure the charger settings. If you have a basic manual charger, you’ll need to select the appropriate charging voltage (12V or 24V) and the charging rate (often in amps, like 2A, 10A, etc.). Refer to your battery’s specifications (often found on a label on the battery) or your vehicle manual for recommended charging rates. A slower charge (e.g., 2-4 amps) is generally gentler on the battery and better for deeply discharged batteries, while a faster charge (e.g., 10-15 amps) is quicker but generates more heat. If your charger has settings for battery type (e.g., Standard/Wet, AGM, Gel), select the correct one. Modern “smart” or automatic chargers often handle voltage, amperage, and battery type detection automatically once you plug them in. Finally, initiate the charging process. On manual chargers, this might involve turning a dial or pressing a button. Smart chargers usually start automatically once powered on and connected correctly. Immediately observe the charger’s indicator lights or display. A red light typically indicates charging is in progress. A green light usually signifies the battery is fully charged. Some chargers have additional lights for warnings or different charging stages (like desulfation or maintenance). Pay attention to these indicators; they are your primary way of knowing the charger’s status. If the charger has an ammeter (a gauge showing current flow), you’ll see the amperage start relatively high and gradually decrease as the battery charges. On a manual charger, when the amperage drops to a very low level (often below 0.5 amps) and stays there, and the green light is on, the battery is considered fully charged.
III. Post-Charging Actions (Safe Disconnection & Cleanup)
After charging is finished, adhere to a rigorous shutdown procedure. First, if the charger has a power switch, turn it off. Next, disconnect the power cord of the charger from the wall outlet. First, the mains electricity connection is severed. Now, carefully take the clamps off of the vehicle. Importantly, flip the order of connections. First, disconnect the negative (black) clamp from the battery’s negative terminal or the chassis/engine block. Next, take the positive (red) clamp off of the positive terminal of the battery.This order minimizes the risk of creating a spark near the battery, which could still have residual hydrogen gas present. After the clamps are off, take a moment to inspect the battery terminals. Ensure they are clean and tight. If you see any white, green, or blue powdery corrosion on the terminals or cable ends, clean it off carefully using a wire brush and a solution of baking soda and water (wear gloves and eye protection!). Rinse thoroughly with clean water and dry. Also, inspect the charger clamps themselves. Wipe off any corrosion or dirt from the jaws to ensure good conductivity next time. Store the charger in a cool, dry place.
Key Considerations & Additional Insights:
- Charging Time: Have patience. The size of the battery (in Amp-hours, Ah), the depth of discharge, and the charging rate you choose all have a significant impact on the charging time, which is not set in stone. It could take 24 hours or longer to fully drain and charge a small battery at 2 amps. It could take four to six hours to charge a larger battery that has only been slightly depleted at 10 amps. Because smart chargers start slowly and taper off to protect the battery, they frequently take longer than high-amp manual chargers. Refrain from leaving a manual charger running constantly “just in case,” as this can cause harmful overcharging, electrolyte boiling off, plate damage, and a shorter battery life. Once full, smart chargers typically transition to a safe maintenance or float mode.
- Battery Health & Maintenance:Charging a battery that frequently dies might be a short-term solution, but it probably signals a bigger issue, such as an old battery that needs to be replaced, a malfunctioning alternator that prevents the battery from being charged while driving, or a “parasitic drain”—something electrical that draws power while the car is off. It’s a good idea to have a battery tested after charging it to determine its general condition and capacity to retain a charge (many auto parts stores provide free testing). It is strongly advised to use a smart charger/maintainer for vehicles that are kept for extended periods of time (weeks or months). By plugging in and maintaining the battery at the ideal charge level without overcharging, these devices greatly increase the battery’s lifespan in comparison to leaving it discharged.
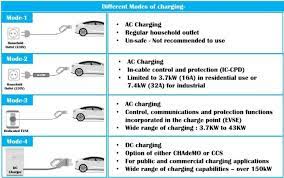
- Manual vs. Automatic Chargers: Manual chargers require you to set voltage and amperage and keep an eye on the charge state, usually with an ammeter, as stated in the additional notes. Chargers that are automatic or “smart” greatly streamline the procedure. After being powered on and connected, they automatically determine the battery voltage (12V/6V), choose the best charging profile, and move through the bulk, absorption, and float phases. Importantly, they eliminate the possibility of overcharging by automatically shutting off or switching to a safe maintenance mode when full. Although they are typically more costly, most users strongly recommend them due to their convenience and safety features.
- Critical “Do Not” Reminders: Never connect the charger clamps in reverse (red to negative, black to positive). This is called “reverse polarity” and can instantly damage the charger, fry your car’s sensitive electronics (ECU, radio, etc.), and potentially cause the battery to overheat or explode. Always double-check the “+” and “-” markings on both the battery and the charger clamps. Before connecting the charger, always check the battery’s electrolyte level (on batteries with removable caps). The fluid should cover the internal lead plates. If it’s low, top it up only with distilled water to the level indicated by the battery manufacturer, before starting the charge. Overfilling can cause electrolyte to bubble over during charging, creating a corrosive mess and hazard. Never add acid unless specifically instructed for a particular battery type – this is extremely rare for standard automotive batteries. Finally, always ensure the clamps are securely connected to the correct points before plugging in the charger or turning it on. Plugging in a live charger and then trying to connect the clamps is an excellent way to create dangerous sparks.
You can safely and successfully recharge your car battery with a battery charger by carefully following these comprehensive instructions and putting safety first at every turn: preparation, connection, charging, and disconnection. You can carry out this crucial maintenance task with confidence if you know the “why” behind each step, particularly with regard to voltage matching, hydrogen gas hazards, and connection sequences. Remember to seek advice from a qualified mechanic if you have any questions concerning the state of your battery or the charging procedure.
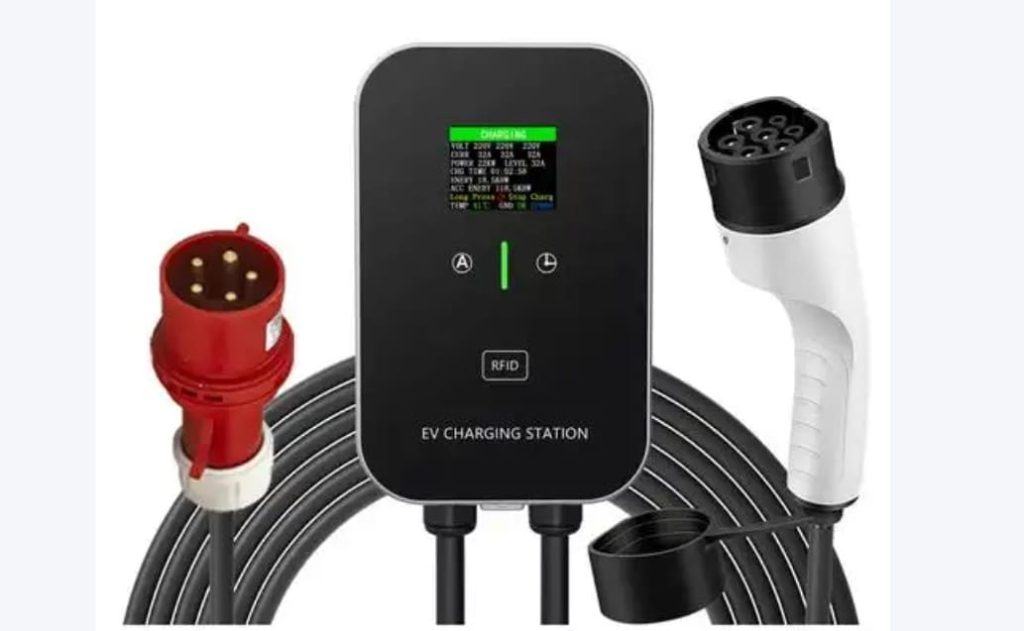
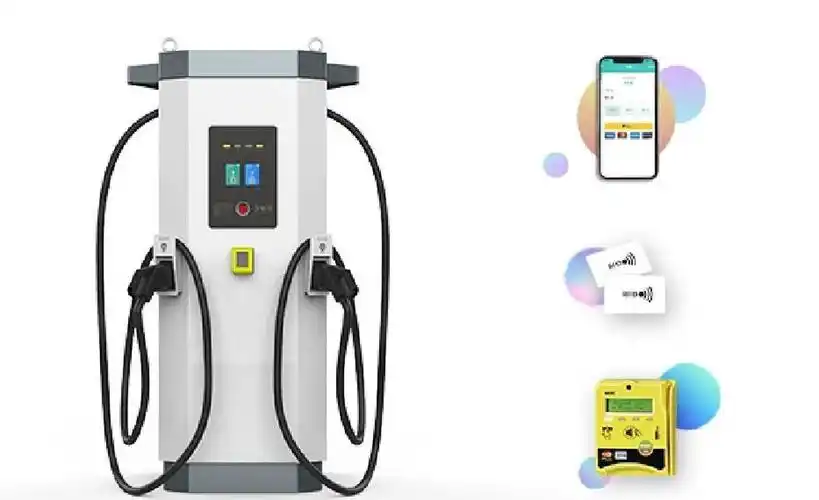
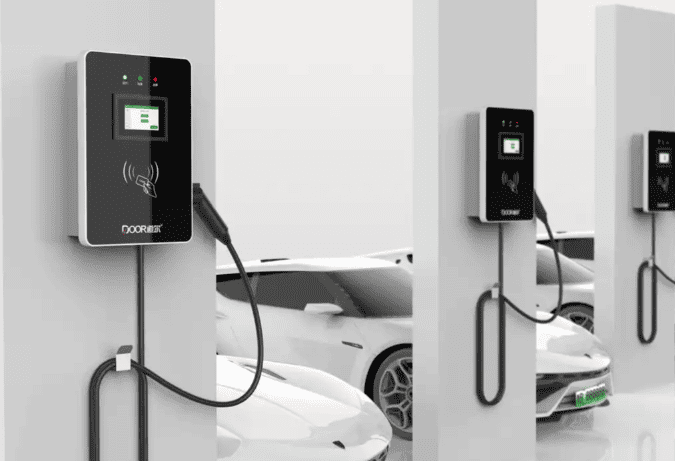
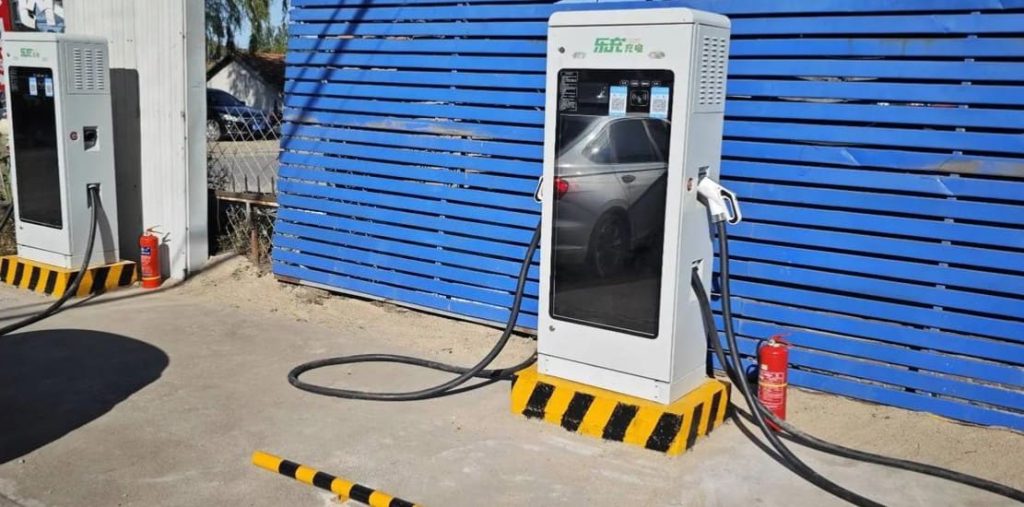
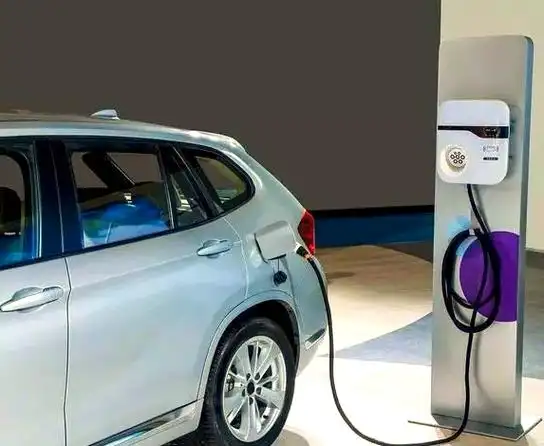
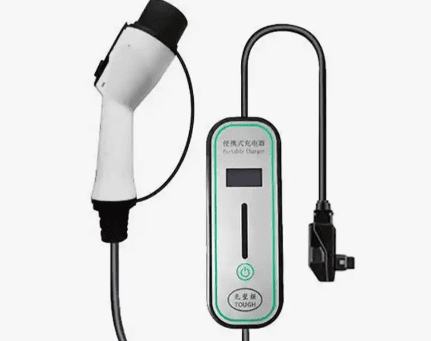
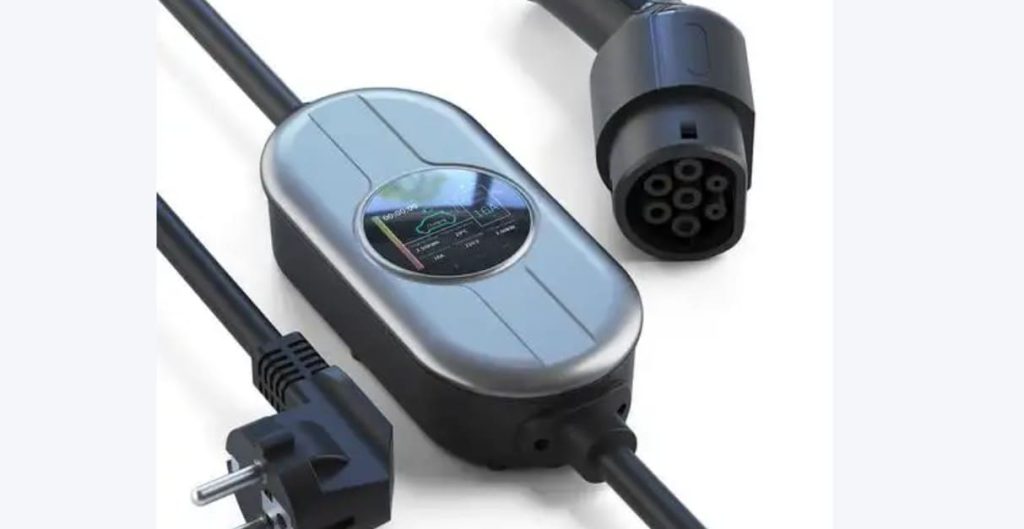
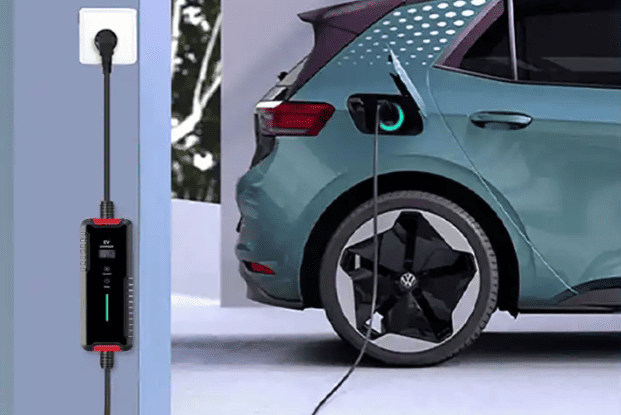
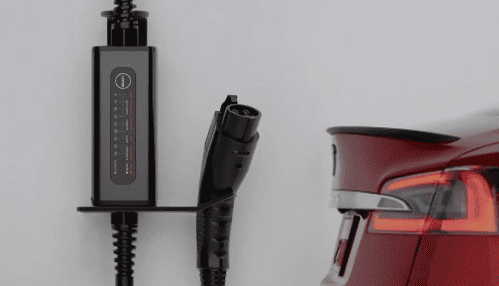
Recommend Slow Charger Products:
Contact Us
Contact Us
Whatsapp/Mobile: +86 13641968560
Email: sales@lkmixer.com
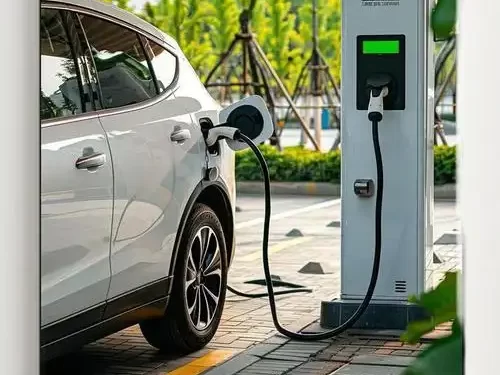
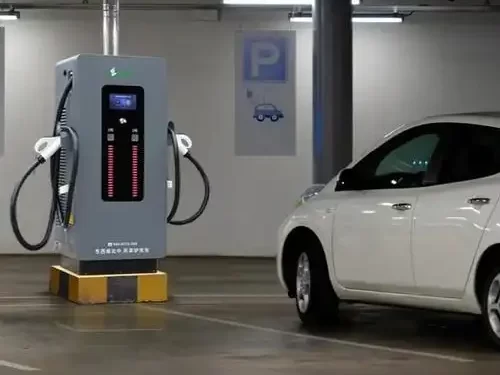
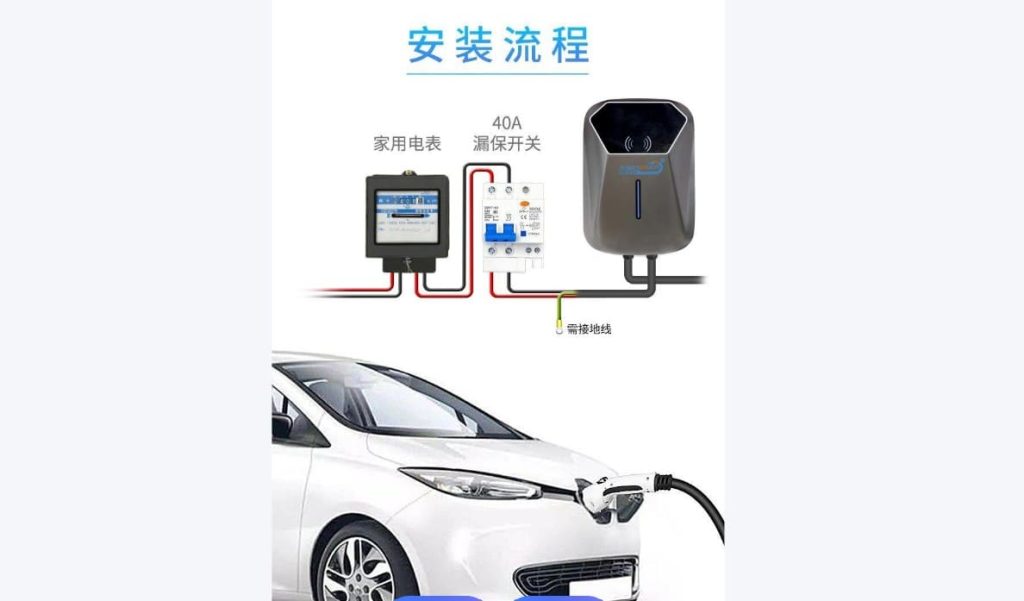
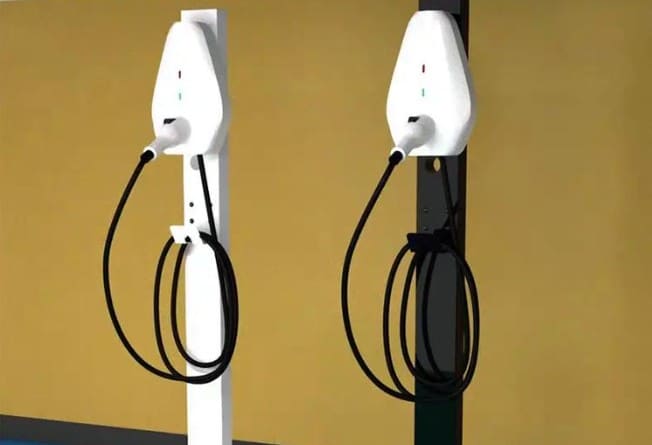
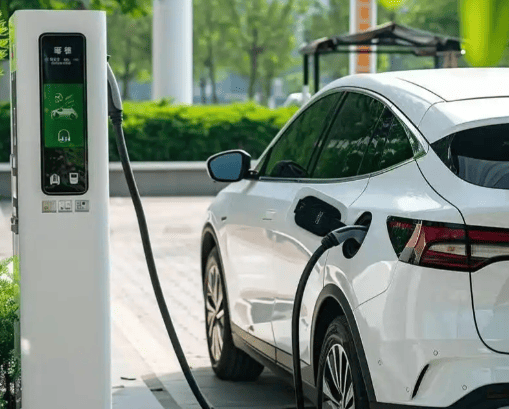
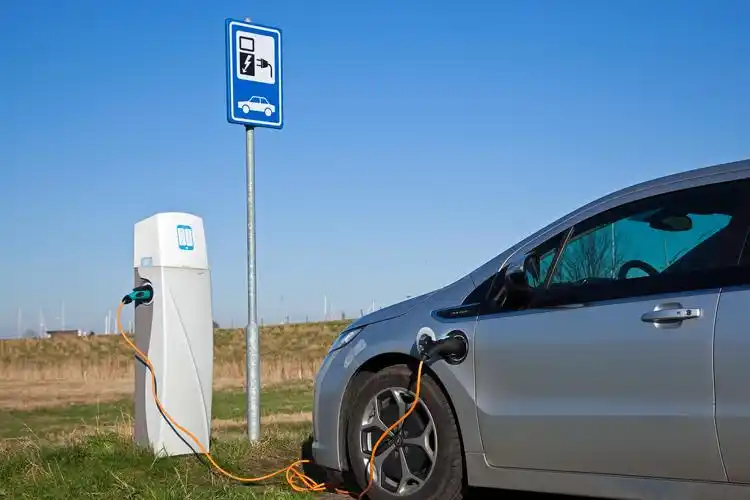
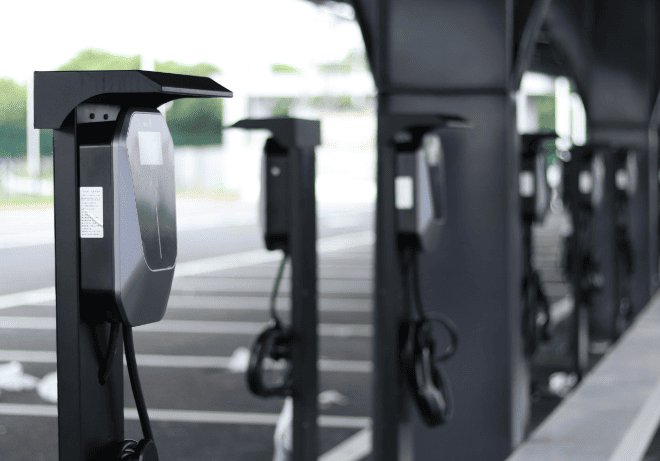
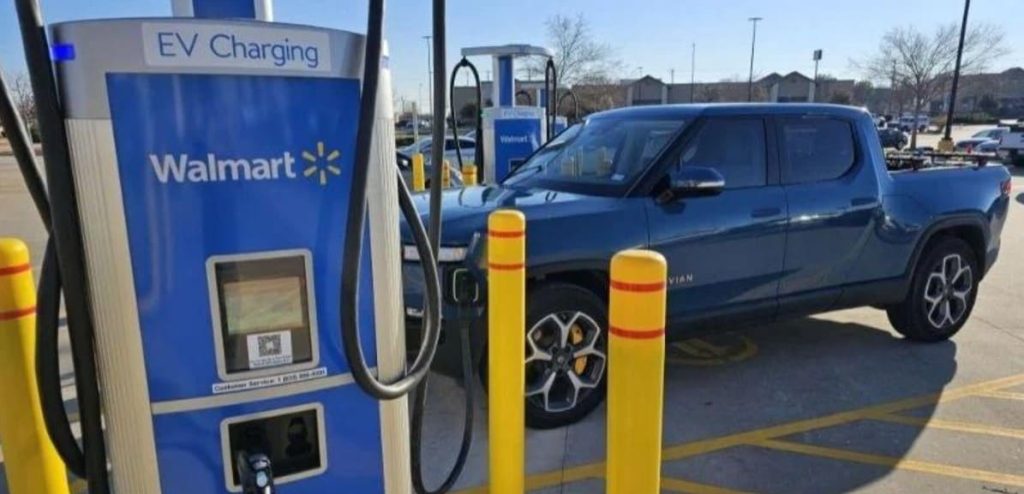
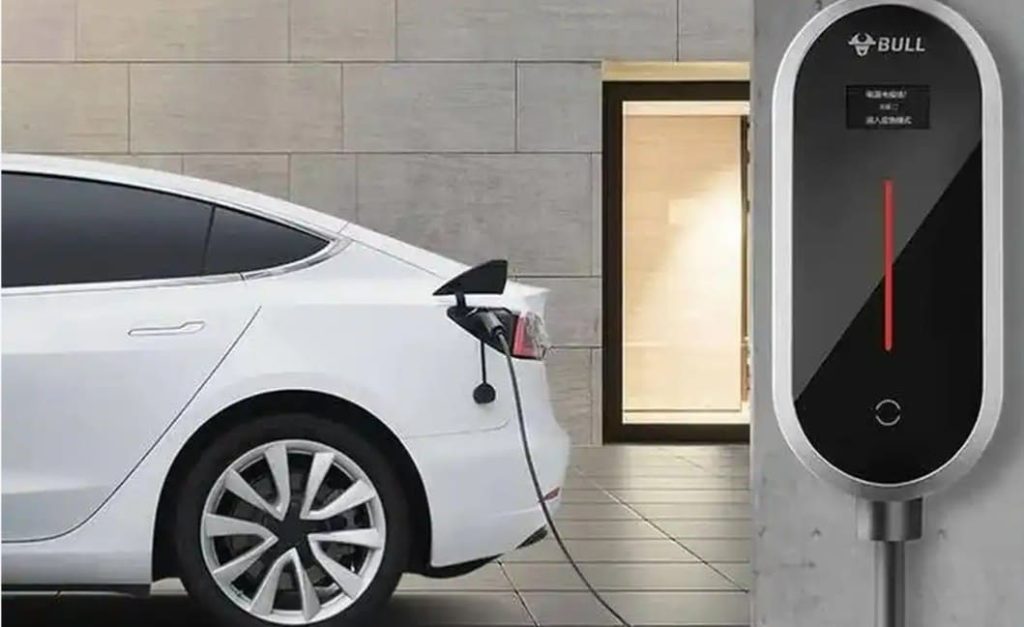
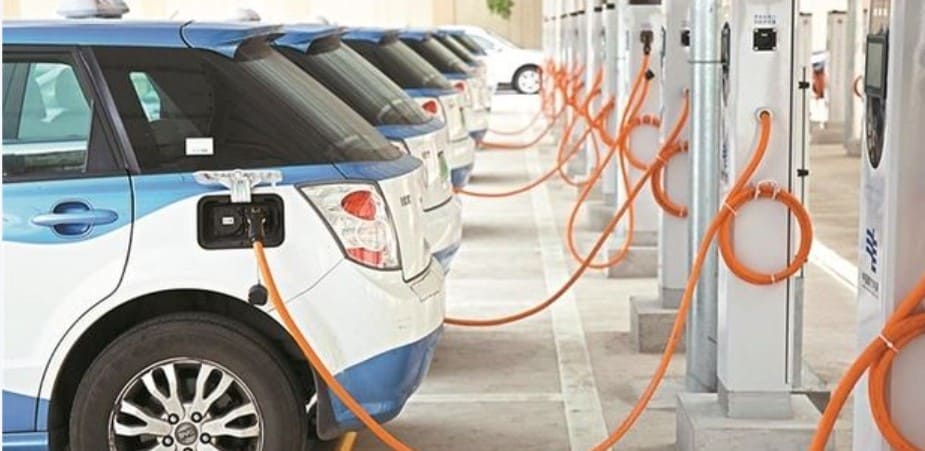
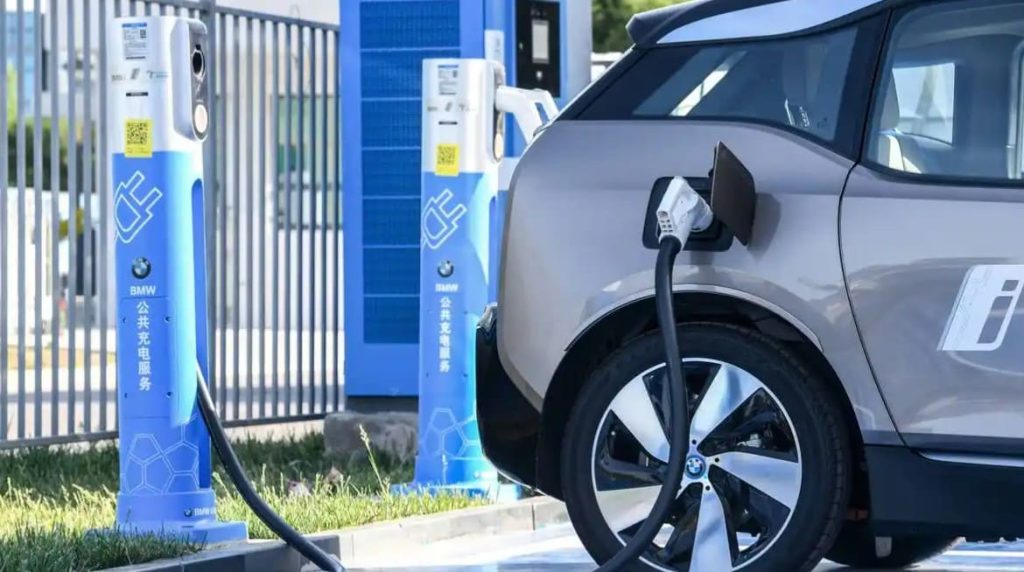
Charging pile: